 ultimate-guide
Outdoor Kitchen Planning Guide for Homeowners
Table of Contents
- Understanding Your Outdoor Kitchen Space and Layout
- Outdoor Kitchen Layout Ideas That Work
- Essential Components and Appliance Selection
- Outdoor Kitchen Planning Checklist: What You Need
- Outdoor Kitchen Cost Breakdown and Budgeting
- Outdoor Kitchen Installation Process and Timeline
- Design, Materials, and Seasonal Maintenance
- Frequently Asked Questions
Last Updated: October 19, 2026
Understanding Your Outdoor Kitchen Space and Layout
Planning an outdoor kitchen starts with understanding what you're working with.
Measure your space accurately and note where utilities already exist: water lines, electrical outlets, gas connections.
Consider shade and wind exposure. Full afternoon sun makes cooking and dining uncomfortable, and prevailing winds can push smoke toward seating or a neighbor's property.
At Moises Pizana Hardscapes, we account for these practical realities before any stone is laid.
Assessing your backyard dimensions and traffic flow
Measure your total available space in length and width.
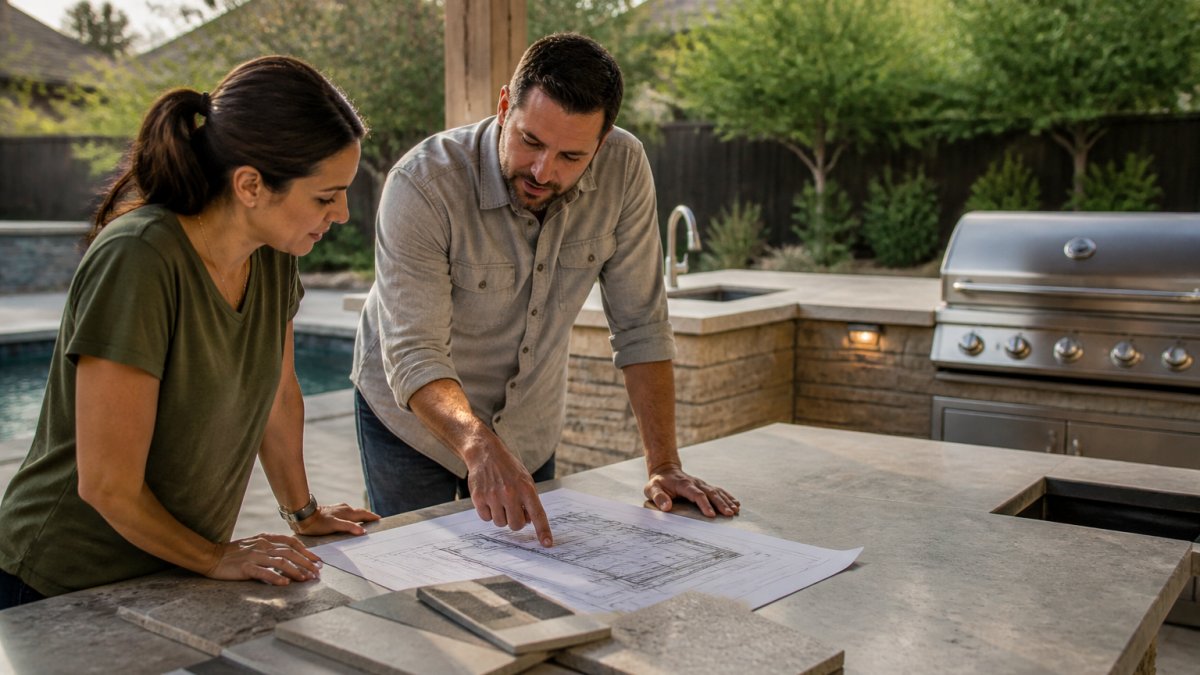
Next, map traffic flow. Draw your backyard and mark the main pathways: back door to seating, kitchen to dining table, driveway to patio.
Prevailing winds in the region typically come from the south and southeast. Position your grill so smoke doesn't drift toward guests or neighboring properties.
Defining cooking, prep, serving, and dining zones
A well-planned outdoor kitchen separates function into distinct zones, preventing congestion and making the space feel intentional.
The cooking zone centers on your grill and primary cooking appliances.
The prep zone includes counter space near the cooking area for chopping, assembling, and plating.
The serving zone is where guests pick up plates, drinks, and appetizers.
The dining area sits separate from active cooking, ideally shaded and positioned for views or conversation.
Outdoor Kitchen Layout Ideas That Work
The layout you choose determines how efficiently your outdoor kitchen functions and integrates with your yard. Three primary configurations dominate residential outdoor kitchens, each with distinct advantages.
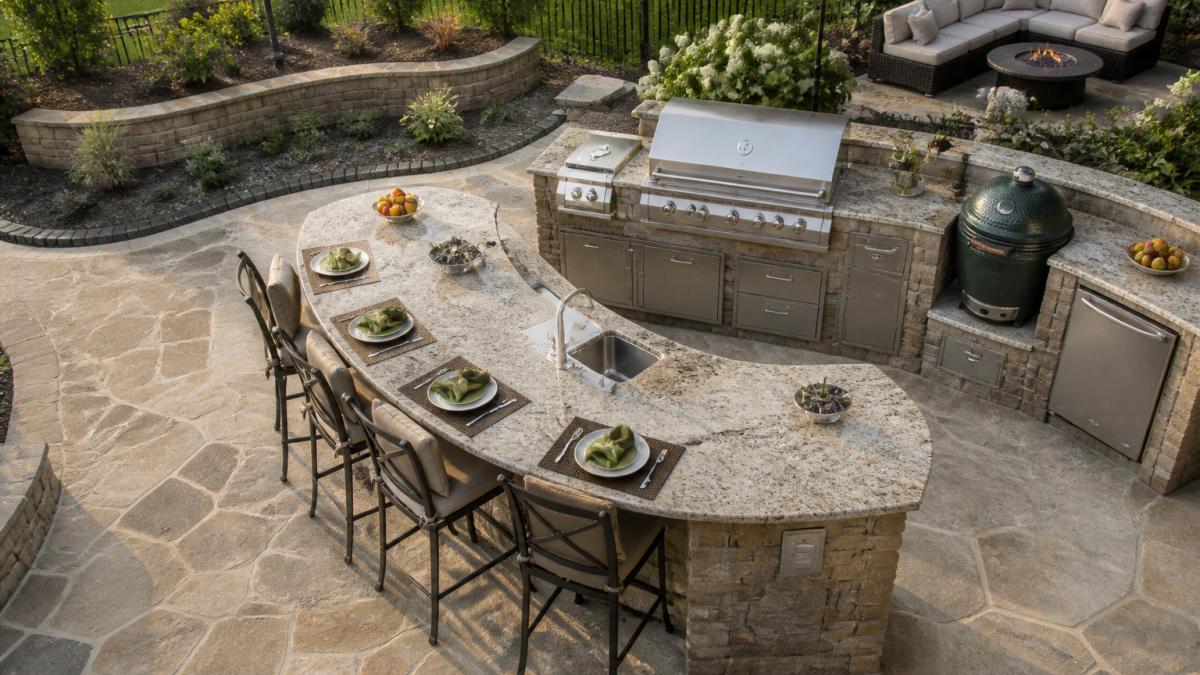
Linear, L-shaped, and U-shaped configurations
A linear layout runs along one side of your patio, typically against the house or a fence.
An L-shaped layout bends the work surface into two perpendicular sections, usually placing the grill on one leg and prep on the other.
A U-shaped layout surrounds three sides of a central workspace, maximizing counter and storage. It creates the most efficient workflow for serious cooking, but requires more space (typically 300+ square feet) and material investment.
Island layouts and custom multi-zone designs
An island layout positions cooking and prep surfaces in the center of your patio, with dining and seating around it. It encourages interaction, letting guests watch while you cook.
Custom multi-zone designs combine elements from the above layouts.
Match the layout to your entertaining style. For large gatherings where guests mingle, an island or multi-zone design works well.
Essential Components and Appliance Selection
Your outdoor kitchen is only as functional as its components. Start with the essentials and add specialty appliances based on your cooking habits and budget.
Grills, refrigeration, countertops, and storage
The grill is your centerpiece. Choose between gas (convenient, consistent heat) or charcoal (flavor, traditional cooking).
Refrigeration keeps ingredients fresh and drinks cold. Outdoor-rated refrigerators and beverage coolers withstand weather better than standard units.
Countertops should be durable, heat-resistant, and weather-resistant. Granite offers elegance and durability but requires sealing.
Storage prevents clutter and keeps tools accessible. Outdoor cabinetry made from marine-grade materials or stainless steel resists rust and moisture.
Ventilation, lighting, and weather protection
Ventilation removes smoke and heat from the cooking area.
Lighting extends usability into evening hours. Pendant or string lights create ambiance, while task lighting near the grill and prep areas improves safety. Solar and LED fixtures reduce electricity costs.
Weather protection keeps your kitchen usable year-round. These additions significantly increase your outdoor kitchen cost but dramatically extend the season you can use it.
Outdoor Kitchen Planning Checklist: What You Need
Before construction begins, confirm you've addressed these critical planning elements. This checklist prevents costly oversights and ensures your outdoor kitchen planning aligns with local requirements.
| Planning Element | Purpose | Status |
|---|---|---|
| Backyard measurements and layout sketch | Establish usable space and traffic flow | ☐ |
| Utility location survey | Identify existing gas, water, electrical lines | ☐ |
| Zone definition (cooking, prep, serving, dining) | Organize functional areas | ☐ |
| Layout selection (linear, L-shaped, U-shaped, island) | Choose configuration that fits your space | ☐ |
| Appliance list and dimensions | Plan counter space and clearances | ☐ |
| Material selections (countertops, cabinetry, flooring) | Ensure weather resistance and durability | ☐ |
| Permit and building code review | Comply with local regulations | ☐ |
| Utility connection plan (gas, water, electrical) | Identify work needed and costs | ☐ |
| Drainage and foundation assessment | Prevent water pooling and settling issues | ☐ |
| Budget estimate and phasing plan | Allocate funds and prioritize work | ☐ |
Utilities, permits, and building code requirements
Most jurisdictions require permits for outdoor kitchens, especially if you're installing gas lines, electrical connections, or permanent structures. Contact your local building department to learn specific requirements for your area. Permit requirements vary significantly, so this step is non-negotiable.
Building codes address safety clearances around grills, ventilation requirements, and electrical outlet placement. Gas lines must be installed by licensed professionals and inspected before use. Electrical work typically requires a licensed electrician.
Drainage, foundation, and material durability
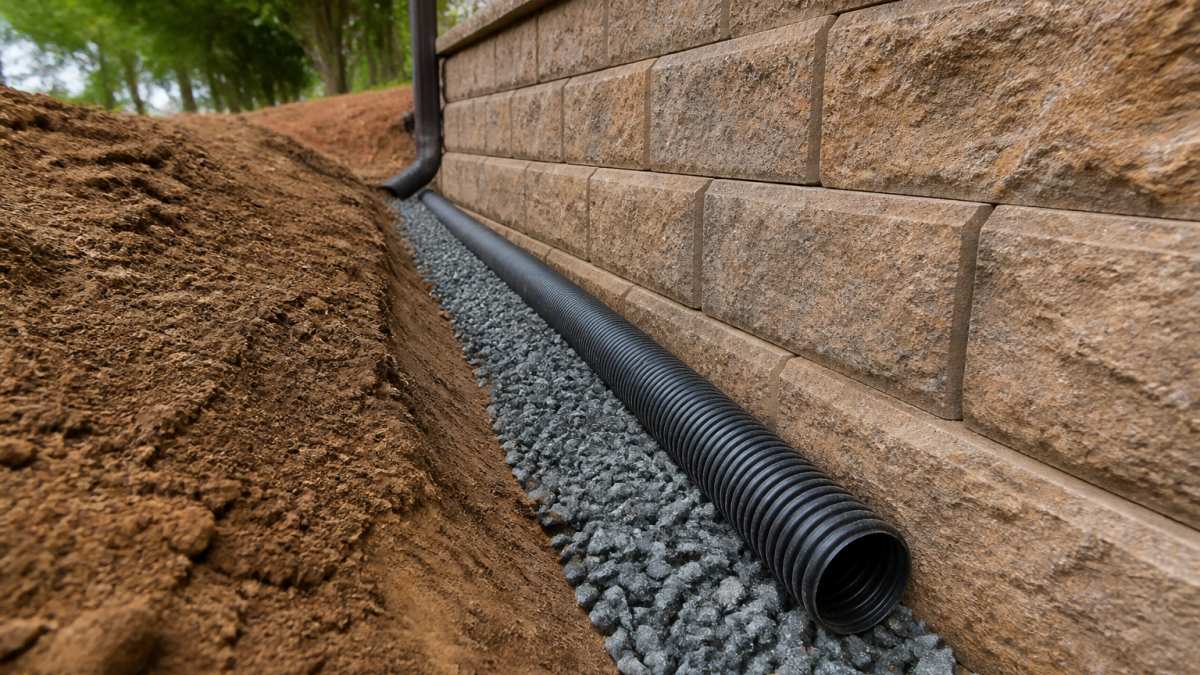
Poor drainage causes water to pool around your outdoor kitchen, leading to foundation settling, material deterioration, and pest problems.
Your foundation must support the weight of cabinetry, appliances, and countertops. Most outdoor kitchens sit on a concrete pad, typically 4-6 inches thick with proper reinforcement.
Material durability determines how long your outdoor kitchen lasts before needing repairs or replacement. Stainless steel resists rust better than painted finishes.
Outdoor Kitchen Cost Breakdown and Budgeting
Outdoor kitchen costs vary widely based on size, materials, and appliances. Rather than guessing, break down costs into categories to build a realistic budget.
A basic outdoor kitchen (linear layout, standard grill, minimal cabinetry) typically costs less than a luxury island design with multiple appliances and high-end materials. Your budget determines what's possible, so be honest about what you can spend.
Phased installation and long-term value
If your full budget isn't available now, consider phasing your outdoor kitchen over time. Start with the essentials: grill, basic counter space, and seating.
Phased installation spreads costs over multiple years and lets you adjust your design based on actual use patterns.
An outdoor kitchen adds value to your home by expanding living space and improving entertaining capability.
Outdoor Kitchen Installation Process and Timeline
Installation typically takes 4-8 weeks from permit approval to completion, depending on complexity. Understanding the process helps you plan around construction activity and timeline expectations.
Site preparation, foundation work, and utility connections
Site preparation (1-2 weeks) involves clearing the area, removing existing pavement if necessary, and marking utility lines.
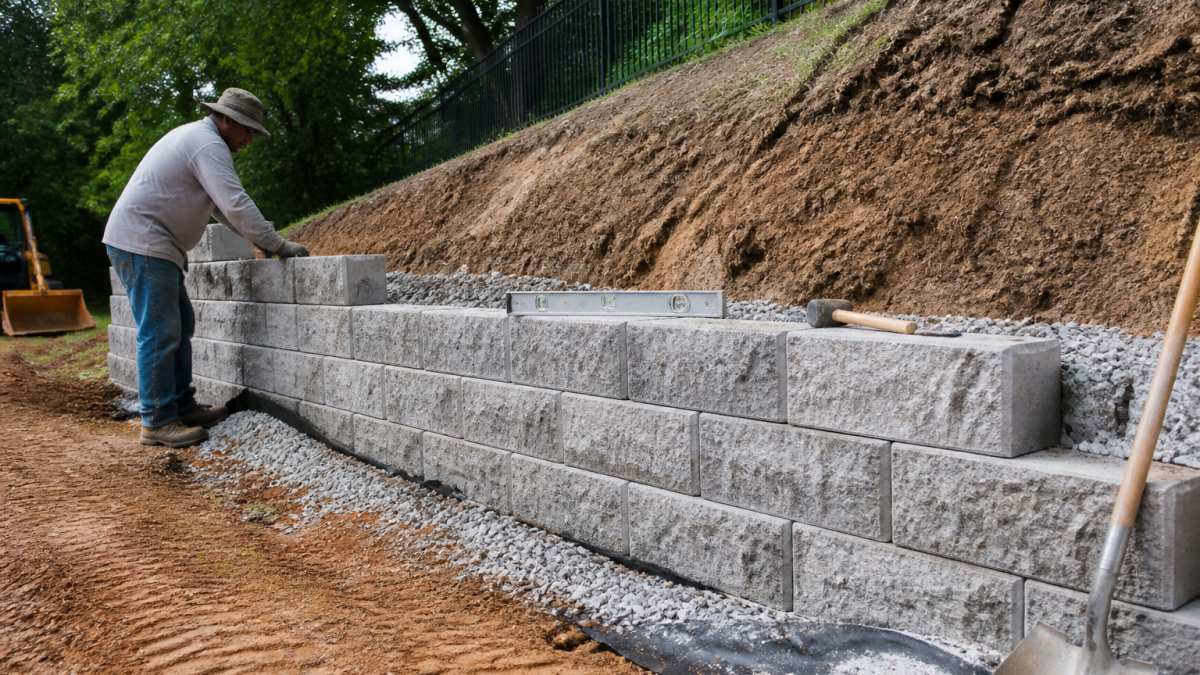
Foundation work (2-3 weeks) includes excavating, installing rebar or wire mesh reinforcement, pouring concrete, and allowing it to cure. A proper foundation prevents settling and keeps your kitchen level.
Utility connections (2-4 weeks) require licensed professionals. Gas lines must be pressure-tested and inspected. Electrical work includes running conduit, installing outlets, and connecting to your home's panel.
Appliance installation and finishing touches
Once the foundation cures and utilities are connected, cabinetry and countertops install (1-2 weeks). Appliances mount into place and connect to utilities. Final details include lighting installation, hardware attachment, and sealing surfaces.
The entire process demands coordination between multiple trades. Moises Pizana Hardscapes handles site preparation, foundation work, and coordinating with utility specialists to deliver a finished outdoor kitchen that functions properly and looks professional.
Design, Materials, and Seasonal Maintenance
Your outdoor kitchen's appearance and longevity depend on material choices and maintenance discipline.
Selecting durable materials and weather-resistant finishes
Countertops should be sealed granite, concrete, or stainless steel. Avoid unsealed natural stone or wood that absorbs moisture and deteriorates quickly. Sealed surfaces resist staining and weathering.
Cabinetry must use marine-grade or stainless steel materials that resist rust and rot. Painted wood cabinetry looks attractive but requires regular maintenance.
Flooring around your outdoor kitchen should be non-slip and drain well.
Protecting your outdoor kitchen year-round
Seasonal maintenance keeps your outdoor kitchen functioning and extends its life.
Spring and fall are good times to seal countertops and cabinetry, inspect for damage, and clean thoroughly.
An outdoor kitchen in a region with significant weather variation benefits from a protective cover or pergola.
At Moises Pizana Hardscapes, we complete outdoor kitchen installations that combine practical functionality with beautiful design.
Frequently Asked Questions
How do I plan an outdoor kitchen?
Start by assessing your backyard space, including dimensions, sun exposure, and existing utilities. Sketch out your layout, defining separate zones for cooking, prep work, serving, and dining. Identify utility access points for gas, electrical, and plumbing connections. Create an outdoor kitchen planning checklist that includes appliance selection, material choices, permits, and drainage solutions. Consider traffic flow between zones to ensure functionality. Work with a professional designer to refine your plan before construction begins.
What should an outdoor kitchen include?
A functional outdoor kitchen needs a grill as the centerpiece, along with a prep area with countertop space, refrigeration for food storage, and cabinetry for tools and supplies. Include adequate lighting for evening use, ventilation to manage smoke and heat, and shade from a pergola or pavilion. Add a dining area nearby for entertaining, and ensure proper drainage to prevent water pooling. Consider a sink if plumbing access allows, and weather-resistant surfaces that withstand the elements year-round.
What is the best layout for an outdoor kitchen?
The best layout depends on your space and entertaining style. Linear layouts work well for smaller yards, placing appliances and countertop in a single line. L-shaped configurations maximize corner space and create natural zones for cooking and prep. U-shaped layouts offer the most counter space and workflow efficiency, ideal for frequent entertaining. Island layouts place the grill centrally, allowing guests to gather around. Consider traffic flow, sight lines to the home, and sun exposure when selecting your outdoor kitchen layout ideas to ensure comfort and usability.
How much does it cost to build an outdoor kitchen?
Outdoor kitchen costs vary significantly based on size, appliances, materials, and complexity. A basic setup with a grill and countertop costs less than a full island kitchen with multiple appliances and custom cabinetry. Permits, utility connections, and site preparation add to the total. For an accurate outdoor kitchen cost breakdown, request a quote from a professional hardscape contractor who can assess your specific project. Phased installation allows you to spread costs over time, starting with essentials and adding features later as budget allows.
How much space do you need for an outdoor kitchen?
A minimal outdoor kitchen requires at least 6 by 8 feet, though 8 by 10 feet provides more comfortable workspace. For entertaining, aim for 12 by 15 feet or larger to accommodate cooking, prep, serving, and dining zones without crowding. Include clearance around the grill for heat and safety, typically 3 feet on sides and back. Ensure adequate space between work zones for traffic flow. Larger backyards support island layouts and multiple entertaining areas, while smaller spaces benefit from linear or L-shaped configurations.
What materials are best for an outdoor kitchen?
Choose weather-resistant materials that withstand sun, rain, and temperature swings. Stainless steel appliances resist corrosion and require minimal maintenance. Stone countertops like granite or limestone offer durability and aesthetic appeal. Composite cabinetry resists moisture and rot better than wood. Sealed concrete or permeable pavers work well for foundations and flooring. Powder-coated metal frames resist rust. Select materials rated for outdoor use and ensure proper sealing and maintenance to extend their lifespan through seasonal changes.
Do outdoor kitchens need plumbing and electricity?
Most outdoor kitchens benefit from both. Plumbing allows you to install a sink for food prep and cleanup, reducing trips to the house. Electricity powers refrigeration, lighting, and any electric appliances. Gas lines connect to grills and cooktops. Before planning, verify utility access and local building codes for outdoor kitchen installation process requirements. You may need permits for electrical and gas work. A professional contractor can assess what utilities your design requires and ensure all connections meet code and safety standards.
How long does it take to build an outdoor kitchen?
Timeline depends on complexity and site conditions. A simple patio with a grill may take 2 to 4 weeks. More elaborate kitchens with custom cabinetry, utilities, and landscaping typically require 6 to 12 weeks. Permit approval can add 2 to 4 weeks. Weather delays and utility coordination may extend the schedule. Professional contractors with established crews and equipment complete projects faster than those who subcontract work. Discuss the outdoor kitchen installation process timeline upfront to understand phases and milestones for your specific project.