 How-to
How Do You Level Ground for a Paver Patio?
Last Updated: November 16, 2026
Quick Summary
To level ground for a paver patio, excavate to the total depth of paver height plus base plus bedding sand, then compact the subgrade and spread crushed rock base in 2 to 3 inch layers, compacting each one. Finish with a 1 inch bedding sand layer screeded flat, keeping a slope of about 1 inch per 4 feet so water runs off.
- Call 811 before you dig so utility crews can mark buried lines.
- Square corners with the 3-4-5 method: 3 feet, 4 feet, and a 5-foot diagonal.
- A common slope target is a fall of 1 inch per 4 feet, roughly 2 percent.
- Most patios need a compacted base of 4 to 6 inches of crushed rock.
- Bedding sand should be 1 inch deep after compaction, using coarse angular sand.
Table of Contents
- Tools and Site Checks Before You Level Ground
- Mark the Patio Layout and Set Your String Lines
- Excavate and Prepare the Subgrade
- Spread and Compact the Base in Layers
- How to Level Ground for Pavers With Sand
- Paver Leveling Tool Options for a Flat Surface
- How to Level Pavers That Have Sunk
- Get a Quote From Moises Pizana Hardscapes
- Frequently Asked Questions
Tools and Site Checks Before You Level Ground
Learning how to level ground for paver patio projects starts with the right tools and a few site checks. Prep work decides whether a patio stays flat for years or rocks loose after the first freeze.
Here is what you need before you break ground:
- Shovel, hoe, and a stiff rake
- Tape measure and marking paint
- Wooden stakes and string lines
- A line level for checking grade
- Plate compactor or hand tamper
- Screed board and a long straight edge
- Crushed rock base and bedding sand
Next, check the site. Call 811 before you dig so utility crews can mark buried lines (811 Before You Dig). Watch how water moves through your yard after rain. Low spots and soggy soil change your plan.
Watch out: digging without a utility locate can cut a gas or power line. That mistake costs far more than any patio.
Mark the Patio Layout and Set Your String Lines
Mark the patio layout first, then set string lines. A clear outline keeps every later step honest. Use stakes at each corner and run string between them.
Square the corners with the 3-4-5 method. Measure 3 feet down one side, 4 feet down the other, and the diagonal between those points should read 5 feet. Adjust until it does. For larger patios, scale up the numbers: 6-8-10 or 9-12-15 work the same way and reduce error from short measurements.
String lines do two jobs. They mark your patio dimensions, and they show the finished surface elevation. That second job matters more than most people realize.
Setting the Slope on Your String Lines
Set the string line for slope by lowering the far end away from the house. Water must run off the patio, not toward your foundation.
A common target is a fall of 1 inch per 4 feet, which works out to roughly 2 percent. To calculate the total height difference for your patio, multiply the patio length by 0.02. For example, a 12-foot run needs a drop of about 0.24 feet, or roughly 3 inches, from the high end to the low end. A 20-foot run needs about 5 inches of fall.
Mark the high end of the string at the finished paver height you want against the house. Then measure down from that mark at the low end by the calculated drop and set the string there. Check the string with a line level at the midpoint, then verify by measuring from the string down to the ground at both ends and at the middle.
For a more precise check, use a laser level set on a tripod at the high end. Shoot the beam along the string line and measure from the beam down to the string at several points. A laser removes the sag error that a string line can introduce over long spans.
Keep the slope consistent across the whole patio. A string that dips in the middle creates a birdbath, and pooling water is the number one cause of settling pavers.
Watch out: setting the string line level instead of sloped is a common mistake that only shows up after the first rain, when water pools against the house and softens the subgrade.
For a deeper walkthrough on grading for runoff, see our guide on how to grade a backyard for proper water runoff.
Excavate and Prepare the Subgrade
Excavation depth equals paver height plus base depth plus bedding sand. Get this math wrong and your patio sits too high or too low against the house.
Dig down to that total, then add a little extra for compaction loss. Remove roots, soft spots, and any organic material. The subgrade is the soil under everything, and it has to be firm.
Level the subgrade roughly, then compact it. Fill any soft pockets with crushed rock and compact again. A stable subgrade is the difference between a flat surface and one that shifts.
Base Depth by Use, Soil, and Climate
Base depth depends on how the patio gets used, what the soil does, and what the weather does to it. Foot traffic needs less base than a driveway. Clay soil needs more than sand. Freeze-thaw cycles need more than a mild climate.
For most patios, a compacted base of 4 to 6 inches of crushed rock works well. Bump it to 6 to 8 inches for heavy loads or expansive clay. In areas with freeze-thaw cycles, a thicker base helps resist heaving.
Soil type changes the plan more than most homeowners expect. Sandy soil drains well but can shift under the base, so geotextile fabric between the subgrade and the base helps keep the aggregate from migrating into the sand. Clay soil holds water and expands when wet, so it needs more base depth and often a drainage solution. Because poor drainage can leave the base unstable and lead to sinking slabs, The Owners Workshop connects careful subgrade preparation with the need to address settlement when it appears.
Watch out: digging out soft soil but not replacing it with compacted base leaves a void under the pavers that will show up as a dip within a season.
Our guide on the best base for a paver walkway in DFW breaks down material choices in detail.
Spread and Compact the Base in Layers
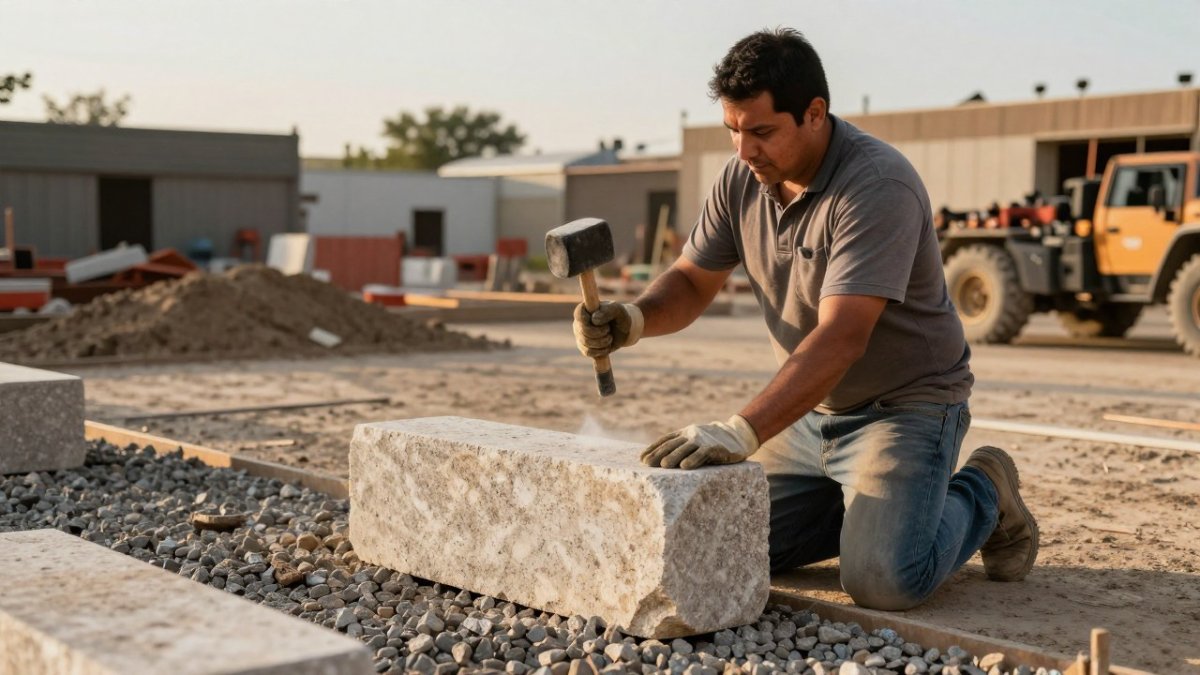
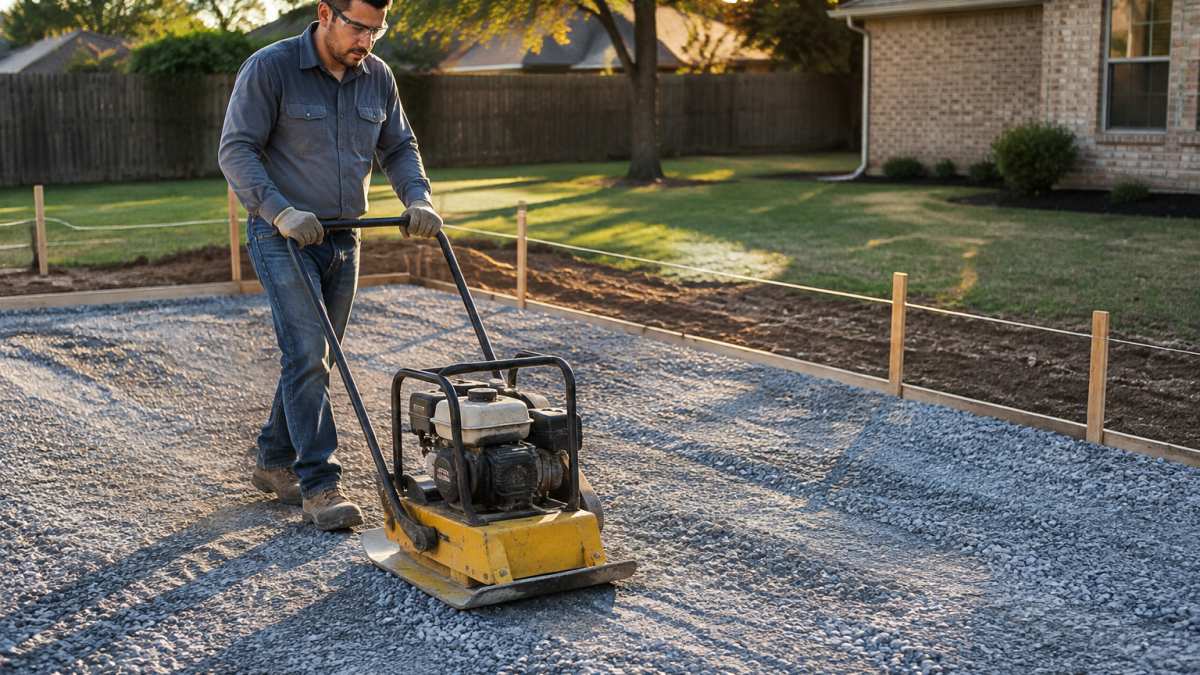
Spread the base in layers of 2 to 3 inches, never all at once. Thin layers compact evenly. Thick layers stay loose in the middle, and loose base means uneven pavers later.
Wet each layer lightly, then run the plate compactor over it in overlapping passes. Work from the edges inward. Compact until the surface stops moving under the machine.
If you are building on clay, geogrid may help. Read about the benefits of installing geogrid in clay soil before you decide.
How to Level Ground for Pavers With Sand
Learning how to level ground for pavers with sand comes down to one rule: keep the sand bed thin and even. Bedding sand should be 1 inch deep after compaction, no more.
Use coarse, angular sand, not round play sand, because angular sand locks together under the pavers better than round sand does.
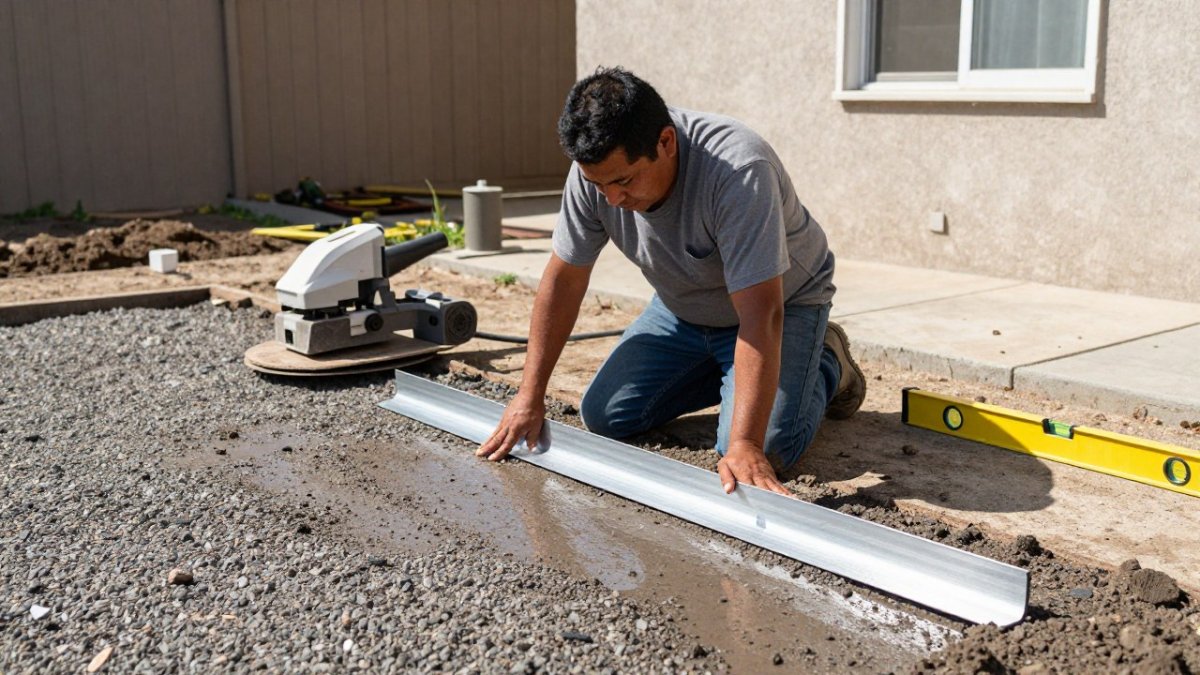
Spread the sand over the compacted base, then screed it. Screeding is the art of pulling a straight board across two guide rails to shave the sand to a flat plane.
Screeding the Bedding Sand
Set two pipes or rails on the base at the exact height you want the sand. Fill between them with sand, then drag a straight screed board across the top.
Work in small sections and re-screed as you go. Do not walk on finished sand. Every footprint is a low spot that turns into a rocking paver.
Lay pavers as you screed, working backward so you never stand on fresh sand. Keep the sand loose and fluffy until a paver covers it.
Paver Leveling Tool Options for a Flat Surface
The right paver leveling tool depends on your budget and the job size. Hand tools work fine for small patios. Bigger jobs go faster with rental equipment.
| Tool | Best For | Notes |
|---|---|---|
| Rubber mallet | Setting each paver | Cheap, slow, precise |
| Hand tamper | Small base areas | Tiring on big jobs |
| Plate compactor | Base layers | Rent it for any real patio |
| Screed board | Leveling sand | Make one from straight lumber |
| Paver extractor | Fixing sunken stones | Lifts without breaking edges |
If you are weighing doing the work yourself, compare DIY vs professional patio installation cost before you commit.
How to Level Pavers That Have Sunk
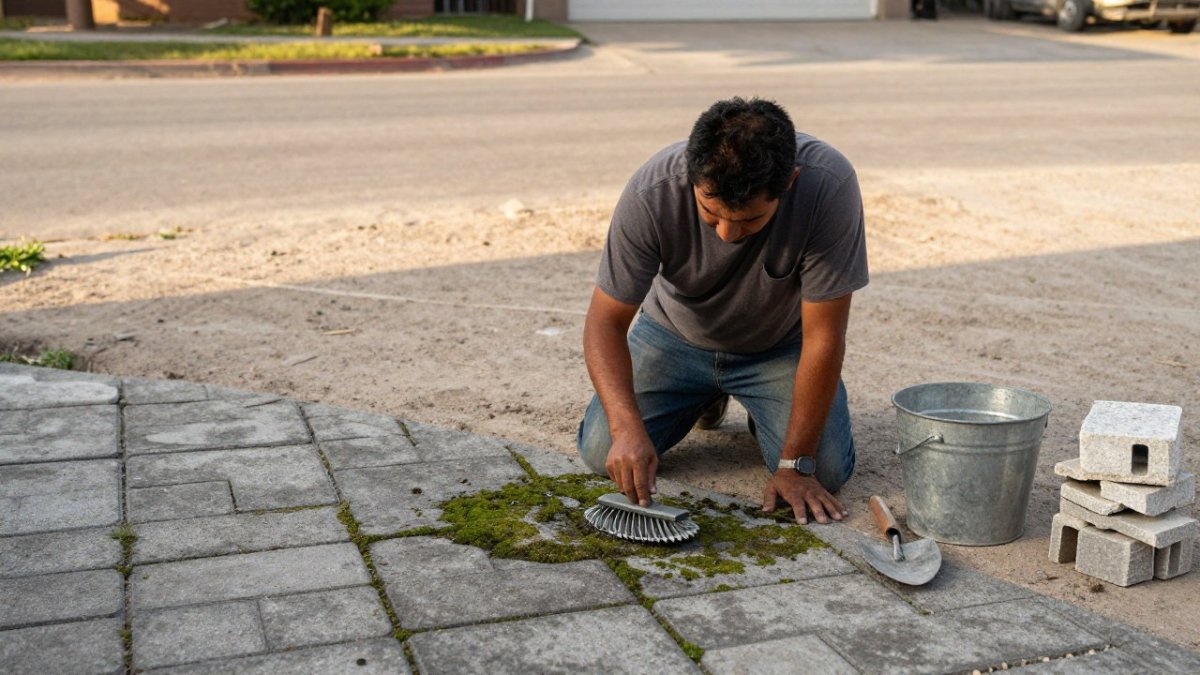
How to level pavers that have sunk comes down to finding the cause first. A single rocking paver is usually a sand problem. A whole sunken area points to a base or drainage failure.
For one or two stones, lift the paver with a putty knife or extractor. Add sand, re-tamp it, and reset the stone. Tap it level with a mallet.
For a larger dip, pull the pavers, re-screed the sand, and relay them. If the base itself has failed, you have to go deeper and rebuild that section.
Common Mistakes That Cause Settling and Rocking Pavers
Settling often traces back to a few common causes:
- Base spread too thick and never compacted in layers
- Sand bed deeper than 1 inch
- No slope, so water pools and softens the subgrade
- Digging out soft soil but not replacing it with base
- Skipping edge restraint, which lets pavers spread
Each one is fixable, and each one is cheaper to prevent than repair.
Get a Quote From Moises Pizana Hardscapes
Leveling ground for a paver patio rewards patience. Get the slope, base, and sand right, and the surface stays flat for years. Rush any of those steps and you will be relaying stones sooner than you planned.
We do not subcontract our work. Our crew brings more than 15 years of experience and the equipment to handle base prep, grading, and drainage. We build custom patios, walkways, and retaining walls across the Dallas and Fort Worth area.
You can see our paver patio services and request a quote when you are ready to talk through your project.
Leveling ground is the step most homeowners underestimate, and it is the one that decides how your patio holds up. If you would rather hand the digging, grading, and compaction to a crew that does this every week, Moises Pizana Hardscapes can take it from layout to finished surface. We bring our own equipment, we do not subcontract, and our crew has more than 15 years of experience building patios, walkways, and retaining walls. Get started with Moises Pizana Hardscapes and get a patio base built to stay flat.
Frequently Asked Questions
What is the easiest way to level the ground for pavers?
Work in stages instead of trying to get it perfect in one pass. Set stakes and string lines to your finished height and slope, excavate to the right depth, then compact a crushed rock base in 2-inch layers. The base does the real leveling; the bedding sand only fine-tunes. Leveling dirt alone, without a compacted base, is a common cause of uneven pavers.
Does a paver patio need to be perfectly level?
No. A paver patio should be flat but not perfectly level. It needs a consistent slope of about 1 inch per 4 feet (roughly 2 percent) away from your house so water drains instead of pooling. A patio that is dead level will hold water after every rain, which softens the base and leads to settling. Aim for a flat surface on a steady grade.
Can I level a patio with sand?
Sand only levels the top inch or so of bedding under the pavers. It cannot fix an uneven subgrade or a base that was never compacted. If pavers have sunk, adding sand on top hides the problem for a season at most. The lasting fix is to lift the pavers, re-level and re-compact the base, then re-screed fresh bedding sand before resetting them.
How do I level ground for pavers with a string line?
Drive stakes at the corners of the patio and tie string between them, then use a line level to set your slope. Measure down from the string to check the subgrade and each base layer as you go. The string gives you a fixed reference for the finished surface elevation, so you can confirm digging depth and base height before any sand or pavers go down.