 comparison
DIY vs Professional Patio Installation Cost
Table of Contents
- DIY Paver Patio Cost Breakdown
- Professional Paver Patio Installation Cost
- Cost Comparison: DIY vs Professional Installation
- How Long Does It Take to Install a Paver Patio
- Hidden Costs and Risk Factors
- Patio Contractor Estimate Checklist
- Making Your Decision: When to DIY and When to Hire
- Frequently Asked Questions
Last Updated: October 9, 2026
DIY Paver Patio Cost Breakdown
For a DIY paver patio, materials are your first cost to understand: pavers, base material, sand, edging, and joint sand. DIY material costs run lower than full professional installation, but the gap depends on patio size, paver quality, and site conditions.
At Moises Pizana Hardscapes, we help homeowners evaluate whether they can tackle patio installation themselves. Materials are only part of the equation: pavers (your largest expense), a gravel base for drainage and stability, joint sand, and edging to contain the pavers.
Base preparation is often overlooked. You'll need compacted gravel or crushed stone to prevent settling and ensure drainage; depth depends on soil and climate. Bedding sand comes next, then joint sand that locks pavers together. Cheap sand washes out faster; polymeric sand costs more but lasts longer and resists weeds.
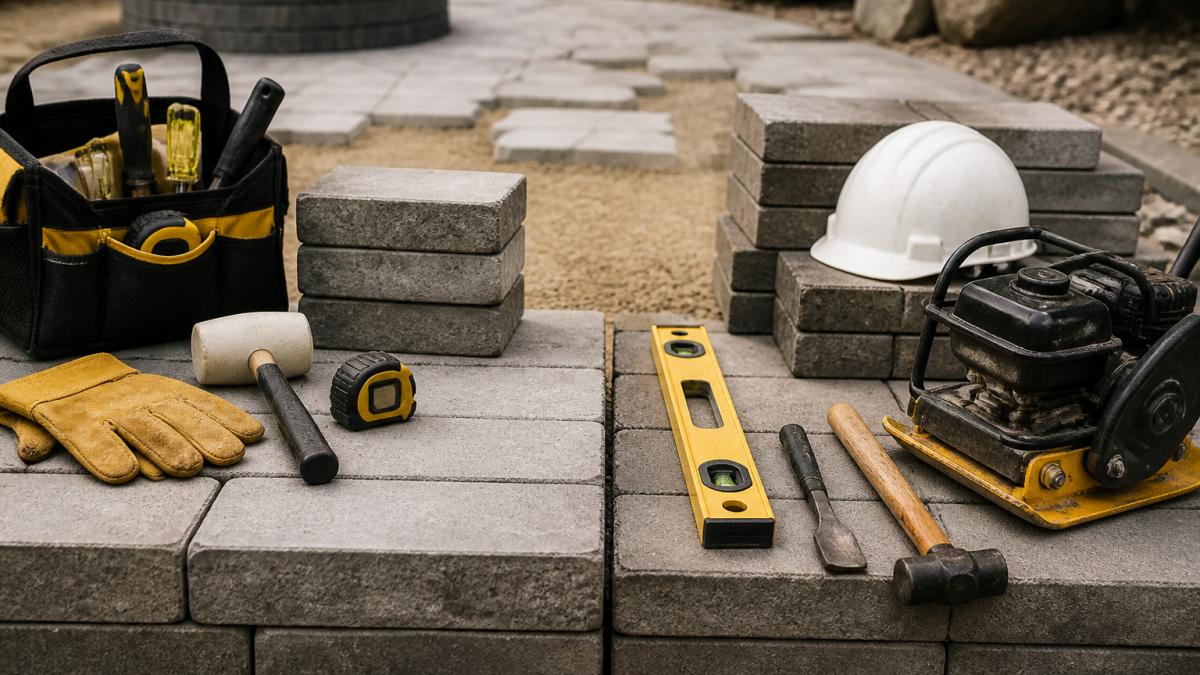
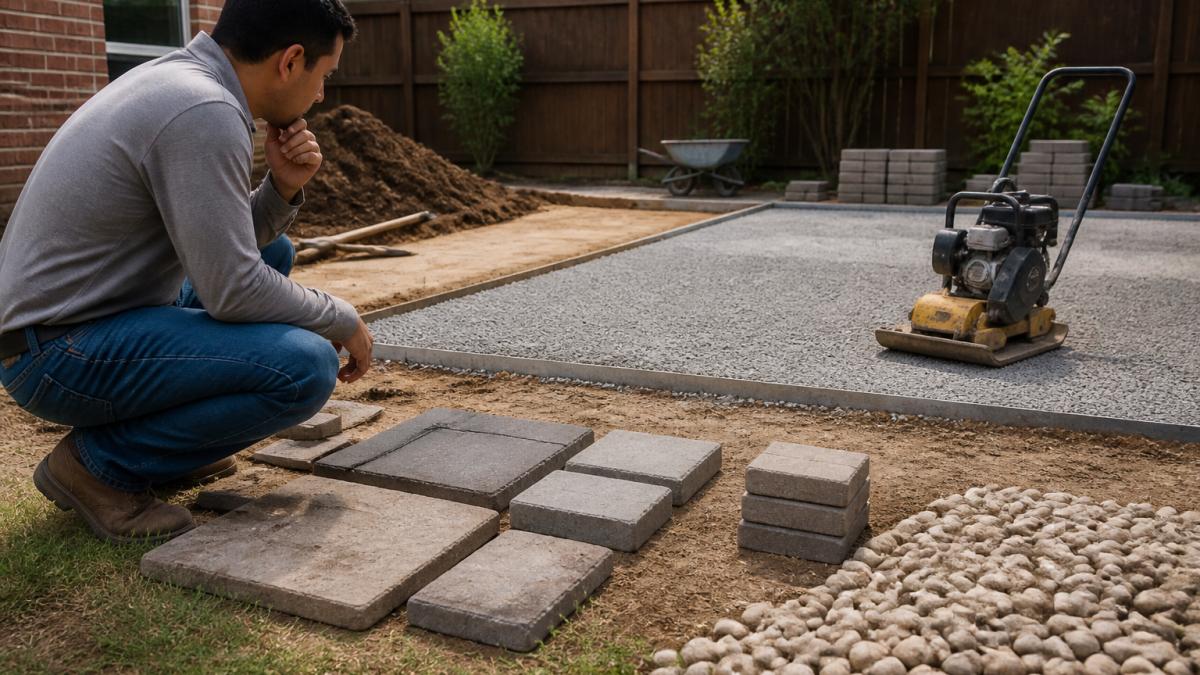
Equipment rental adds unexpected costs. Most homeowners rent a plate compactor, plus a wheelbarrow, shovel, level, and measuring tools. If you don't own these basics, factor in rental time and delivery fees.
Professional Paver Patio Installation Cost
Professional patio installation cost includes materials, labor, equipment, expertise, and warranty. Hiring a contractor like Moises Pizana Hardscapes buys experience, precision, and accountability: site assessment, grading for drainage, expert compaction, and finishing work that prevents future problems.
Professional installation cost varies by patio size, materials, site conditions, and local market rates. Contractors carry commercial-grade equipment, insurance, licensing, and crew training, and assume liability for the work.
The professional advantage goes beyond laying pavers. Experienced crews assess drainage patterns, identify soil issues, and handle sloped terrain and poor drainage that DIY installers underestimate.
Professional contractors also handle permits and utility locating. Many jurisdictions require permits for hardscape work, and skipping this step can mean fines, delays, or danger.
Cost Comparison: DIY vs Professional Installation
The core difference between DIY and professional patio installation cost is labor. DIY eliminates the labor line item but requires your time and effort and assumes the risk of mistakes. Professional installation cost includes labor as the largest line item.
To make the comparison honest, you have to hold the project constant. Below is a like-for-like scenario for a 300-square-foot paver patio using 4x8 concrete pavers over a compacted gravel base, with the same material specification on both sides.
| Line Item | DIY (You Supply Labor) | Professional Installation |
|---|---|---|
| Pavers (300 sq ft @ $2.50-$4.00/sq ft) | $750-$1,200 | $750-$1,200 |
| Base gravel (approx. 6-8 cu yd delivered) | $250-$450 | $250-$450 |
| Bedding and joint sand | $150-$300 | $150-$300 |
| Edging and spikes | $80-$150 | $80-$150 |
| Plate compactor rental (2-3 days) | $100-$200 | Included |
| Wheelbarrow, hand tools, delivery fees | $50-$150 | Included |
| Excavated soil disposal (dumpster or haul-away) | $200-$450 | $200-$450 |
| Labor | $0 (your time) | $1,200-$2,400 |
| Permits and utility locating | $0-$300 | $0-$300 (often handled by contractor) |
| Contingency for rework or site surprises | You absorb it | Contractor absorbs it |
| Typical all-in range | $1,580-$3,200 | $2,630-$5,450 |
Those ranges are wide on purpose: paver selection alone can swing the material line by 60% or more, and regional labor rates vary. On paper, DIY saves roughly 40-50% of total project cost before any mistakes.
That paper savings is where it gets interesting. Value your labor at even $25 per hour over 60-80 hours and you've "spent" $1,500-$2,000 of your time. The gap narrows considerably, and disappears entirely if you redo a section.
| Factor | DIY Approach | Professional Installation |
|---|---|---|
| Materials Cost | Lower per square foot | Included in quote |
| Labor Cost | Your time (free on paper) | Contractor's crew |
| Equipment | Rental fees | Contractor-owned |
| Timeline | Weeks of work | Days to complete |
| Warranty | None | Typically included |
| Permits/Utilities | Your responsibility | Contractor handles |
| Risk of Mistakes | High | Low |
| Rework Costs | You pay if problems arise | Contractor liable |
The trade-off is real: DIY saves money upfront but costs time and carries risk, while professional installation cost is higher initially but eliminates expensive repairs. Many homeowners discover mid-project that they underestimated the physical demands or hit site conditions requiring expertise.
Hidden costs often tip the balance. If your DIY patio settles, cracks, or fails to drain, fixing it means tearing out and reinstalling sections at nearly the original cost.
How Long Does It Take to Install a Paver Patio
Timeline depends on whether you DIY or hire out. DIY takes weeks of part-time work or several intense full days; professional crews finish most residential patios in three to seven days, depending on size and complexity.
A typical 200-400 square foot DIY patio spans three to four weekends of Saturdays and Sundays; larger or complex designs stretch to six to eight. This assumes one or two workers with some experience.
Professional installation is faster because crews use efficient techniques and have the right equipment on-site from day one. Most residential projects finish in a single week; complex designs or challenging terrain extend that slightly. Similar time-saving advantages apply to professional pergola assembly, where specialized tools and experienced labor prevent the common delays that often plague weekend projects.
That speed matters: your yard is disrupted for days instead of weeks, you use your patio sooner.
Hidden Costs and Risk Factors
Most DIY-vs-pro comparisons stop at the sticker price. The real difference is in costs that never make the initial estimate, which is why a "cheaper" DIY project can end up costing more than a professional install.
Permits and inspections. Many jurisdictions require a permit for hardscape work, especially when the patio attaches to a structure, sits near a property line, or changes drainage. Fees commonly run $50-$300.
Utility locating. Calling 811 is free in most areas but needs two to three business days' notice.
Disposal of excavated soil and old material. A 300-square-foot patio with a 6-inch base generates roughly 6-8 cubic yards of spoil. A rented dumpster runs $300-$600; hauling it yourself means multiple trips and landfill fees.
Equipment rental that runs long. A plate compactor rents for roughly $40-$80 per day. Weather delays, a learning curve, or rework can turn a two-day rental into a week, plus delivery and fuel charges.
DIY error and repair costs. This is the category most comparisons ignore entirely. The most common DIY failures are:
- Uneven settling from an under-compacted or too-shallow base. Repair means pulling pavers, re-excavating, re-compacting, and relaying. Expect to redo 30-100% of the patio.
- Drainage failure from incorrect slope or a missing drainage plane. Water pools against the house or under the pavers, and the fix often requires re-grading the entire base.
- Paver lippage and joint failure from inconsistent bedding sand depth. Individual pavers rock, joints open, and weeds take hold.
- Edge restraint failure from inadequate edging or spikes. The perimeter spreads, and the whole field loosens.
A realistic repair for a failed 300-square-foot DIY patio runs $1,500-$3,500 in materials, equipment, and disposal, plus 40-60 hours of labor, roughly the original project cost. A failed DIY job can cost more than hiring a professional the first time.
Physical injury. Patio work means heavy lifting, repetitive compaction, and awkward postures. Back strains and overuse injuries are common, can sideline you for weeks, and add medical costs no comparison captures.
Weather delays. A rainy week halts a DIY project, but rental charges and dumpster fees keep running.
Patio Contractor Estimate Checklist
When you contact contractors for quotes on patio installation cost, use this checklist to keep estimates complete and comparable. A thorough estimate covers site assessment, material specs, labor breakdown, timeline, warranty terms, and payment schedule.
Ask contractors these questions:
- Does the estimate include site excavation and preparation?
- What base material depth is specified, and why?
- Are permits and utility locating included?
- What happens if unexpected conditions are found during excavation?
- Is the warranty in writing, and what does it cover?
- What's the payment schedule (deposit, milestones, final)?
- Are there any additional fees (delivery, disposal, equipment)?
- How long is the estimated timeline, and what causes delays?
- Will the same crew finish the project, or might it change?
Request itemized estimates that break out materials, labor, equipment, and services separately so you can compare quotes accurately. Vague lump-sum estimates are harder to evaluate.
Check references and verify insurance, and ask for photos of completed local projects. A track record with similar nearby projects beats a low bid from an unfamiliar company.
Making Your Decision: When to DIY and When to Hire
The right choice depends on skill, time, physical capability, and risk tolerance. DIY suits those with construction experience, a realistic timeline, and a small, straightforward project. Hire a professional if you're inexperienced, pressed for time, or facing complex site conditions.
Hire professionals if your yard has drainage issues, poor soil, or significant grading challenges, since these require expertise. Moises Pizana Hardscapes brings 15+ years of assessing site conditions and designing solutions. Our crew doesn't subcontract, so you get consistent quality and direct accountability.
The break-even point surprises people. Factor in equipment rental, material waste, your time at an hourly rate, and fixing mistakes, and professional installation cost becomes competitive with DIY for many projects.
Skill level matters most. If you've never done hardscape work, the learning curve is steep, and mistakes in base prep, compaction, or grading show up months later as settling, cracking, or drainage problems.
The decision between DIY and professional patio installation cost depends on your situation. Small, straightforward projects in good soil can work as DIY; larger patios, complex designs, poor site conditions, or tight timelines point toward hiring professionals. At Moises Pizana Hardscapes, we handle every aspect of patio installation with precision: site preparation, proper drainage, and finishing work. Get a quote from us to see how professional installation cost compares to your DIY estimate, and let our experience guide your decision.
Frequently Asked Questions
How much does it cost to install a patio yourself?
DIY paver patio material costs range from $5 to $12 per square foot, depending on paver quality, base materials, sand, and edging. A 200-square-foot patio would cost $1,000 to $2,400 in materials alone. You'll also need to factor in equipment rental (compactor, saw), tool purchases if you don't own them, and disposal fees for excavated soil. Total DIY material and equipment expenses typically run 30% to 50% of what professional installation costs.
Is it cheaper to build a patio yourself or hire a contractor?
DIY installation saves labor costs, which typically account for $10 to $20 per square foot in professional quotes. This means potential savings of 30% to 60% of the total project cost. However, DIY requires significant time, physical effort, and skill. Mistakes in grading, drainage, or compaction can lead to settling, cracking, or water pooling, which cost hundreds to thousands to repair.
What should I include in a patio contractor estimate checklist?
Request itemized quotes that include site preparation and excavation, base material and gravel installation, paver or material cost, sand and joint material, edging installation, compaction and finishing, delivery and disposal fees, permits and inspections if required, project timeline and completion date, and warranty or guarantee terms. Ask about equipment rental costs, whether the contractor handles drainage solutions, and if they manage utility locating. Compare at least two estimates side by side to identify hidden costs and ensure you're comparing identical scopes of work.
How long does it take to install a paver patio?
Professional paver patio installation typically takes 3 to 7 days for a standard 200-300 square foot project, depending on site conditions, weather, and complexity. DIY installation takes significantly longer: 2 to 4 weeks of part-time work for most homeowners, as you'll be learning techniques and working alone. Factors affecting timeline include ground preparation difficulty, soil conditions, drainage requirements, patio size, weather delays, and material availability. Professional crews work faster due to experience and equipment.