 How-to
7 Backyard Hardscape Maintenance Tips for Lasting Results
Last Updated: November 12, 2026
Quick Summary
Backyard hardscape maintenance means routine cleaning, joint care, sealing and drainage checks that keep patios, walkways and retaining walls stable. Regular upkeep prevents small problems like shifting pavers and washed-out joint sand from becoming costly repairs.
- Sweep debris weekly during the growing season to prevent moisture, moss and weeds.
- Refill joint sand when gaps appear or after pressure washing and heavy rain.
- Match the sealer to the material, since concrete, clay, stone and porcelain each differ.
- Test a sealer on a hidden spot and reseal when water soaks in instead of beading.
- Check retaining walls and weep holes after heavy rain for bulging, leaning or cracks.
Table of Contents
- Why Backyard Hardscape Maintenance Matters
- The Best Way to Clean Patio Pavers
- Polymeric Sand for Pavers: When to Replace and Refill
- Sealing Pavers and Natural Stone
- Retaining Wall Maintenance and Drainage Checks
- Seasonal Hardscape Maintenance Calendar
- Dos and Don'ts for Hardscape Care
- Scheduling Your Next Hardscape Check-Up With Moises Pizana Hardscapes
- Frequently Asked Questions
Backyard hardscape maintenance is what keeps a patio, walkway or retaining wall looking sharp for years instead of cracking, sinking and growing weeds. Pavers and stone are durable, but they are not maintenance-free. A little regular care prevents most of the expensive repairs homeowners in Dallas-Fort Worth end up paying for. At Moises Pizana Hardscapes, we build patios, walkways, retaining walls and outdoor kitchens.
Why Backyard Hardscape Maintenance Matters
Hardscape is the non-plant part of your yard: pavers, stone, concrete, retaining walls and the joints between them. Hardscape maintenance means the routine cleaning, sealing, joint care and drainage checks that keep those surfaces stable.
Most damage starts small. Water sits in a low spot, joint sand washes out, and a paver shifts a fraction of an inch. Left alone, that small problem becomes a trip hazard or a full section that needs to be lifted and reset.
- Debris and moisture trap weeds and algae in joints
- Loose joint sand lets pavers rock and settle
- Clogged drainage pushes water into the base and under the surface
Good upkeep is generally less costly than repair.
The Best Way to Clean Patio Pavers
Start with the simplest method. For the full step-by-step cleaning and sealing process, see our guide on how to clean and seal paver patios. Sweep the surface, then rinse it with a garden hose and a stiff brush.
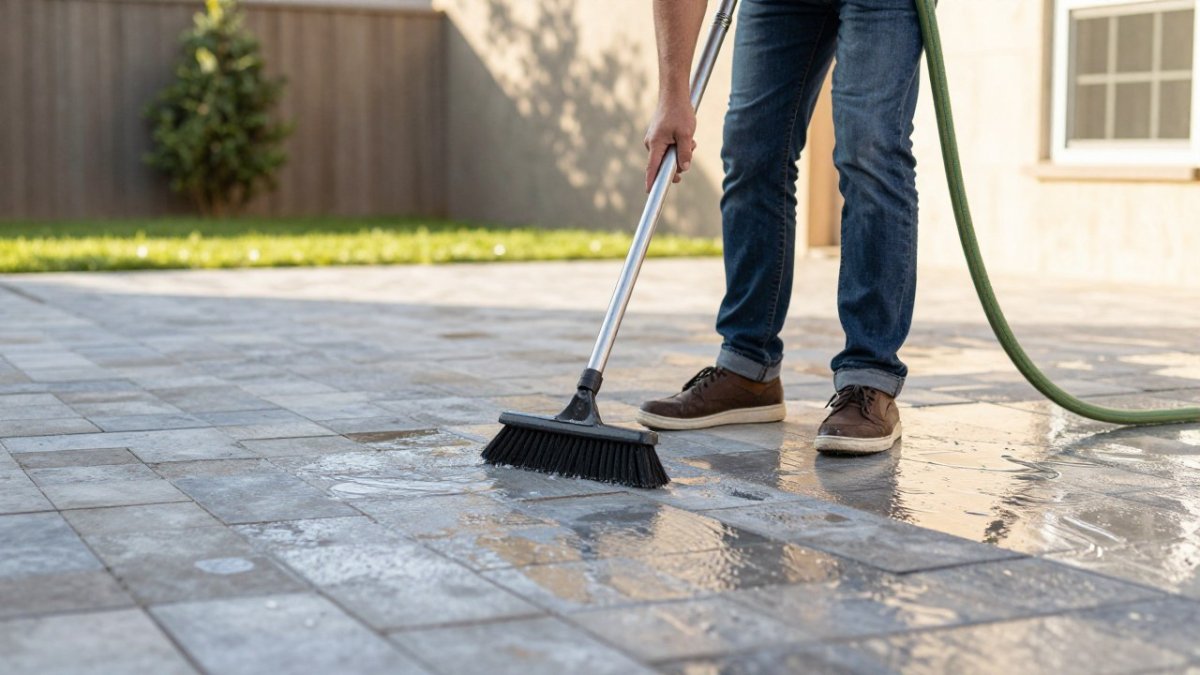
Work in small sections so the soap does not dry on the paver. Rinse each section fully before moving on. A common mistake is using too much soap, which leaves a film that attracts dirt faster than it started.
Routine Sweeping and Debris Removal
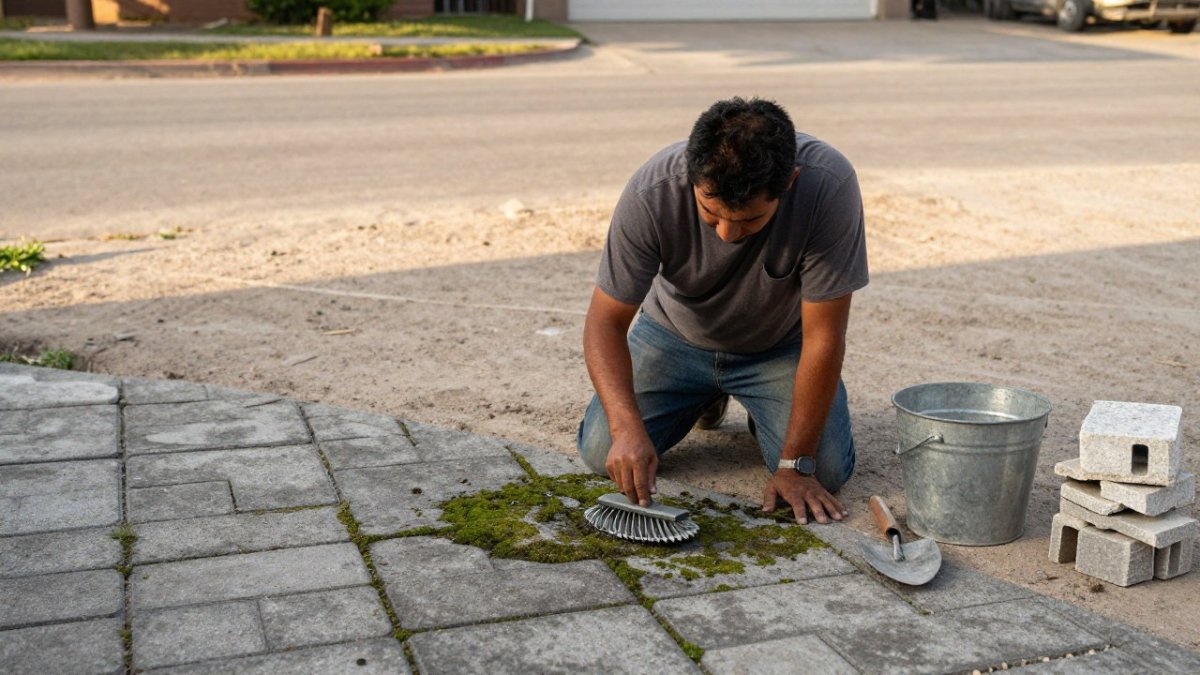
Sweeping is the cheapest maintenance you will ever do. Remove leaves, grass clippings and dirt every week or two during the growing season. Organic debris holds moisture, and that moisture feeds moss, algae and weed seeds.
Use a stiff push broom or a leaf blower on low. Sweep joints as well as the surface, since that is where weeds take root.
Pressure Washing Settings and Safe Technique
Pressure washing can restore a dirty patio quickly, but it can also damage it. Use a fan tip, not a narrow stream, and move the wand in steady, overlapping passes.
- Test a small hidden area first
- Never hold the nozzle in one spot, which can scar the surface and blast out joint sand
- Avoid aiming directly at seams, which can wash the sand right out
Pressure washing removes sand from joints, so plan to refill joints afterward.
Polymeric Sand for Pavers: When to Replace and Refill
Polymeric sand is a joint material that hardens when it is activated with water. As the joints wear, gentle cleaning helps keep moisture and organic debris from encouraging mold on the pavers, a task Steve's Premium Pressure Washing can help you approach with care.
Refill or replace joint sand when you see gaps, sand washing out after rain, or weeds starting to grow between pavers. If you are weighing whether to keep up paver joints or switch to a different walkway material, compare pavers and poured concrete for cost, durability and design.
Follow the product label for activation and curing. Sweep the sand into the joints, remove the excess from the surface, then mist the area gently. Keep foot traffic off the patio until the sand has set.
Sealing Pavers and Natural Stone
A sealer is a sacrificial layer. It takes the wear, stains and UV exposure so the paver or stone underneath does not. That is the right way to think about it: you are not making the surface permanent, you are buying time between deep cleans and reducing how much water and oil can soak in.
Not every surface benefits from the same product, and some surfaces should not be sealed at all. Match the sealer to the material before you buy.
Match the Sealer to the Material
- Concrete pavers: Water-based acrylic sealers are the most common choice. They are breathable, easier to apply and less likely to trap moisture. Solvent-based acrylics can give a wet-look finish but yellow over time in strong sun and are less forgiving on damp surfaces.
- Clay brick pavers: These are porous and prone to efflorescence, a white salt bloom that appears as moisture moves through the brick. A breathable, penetrating sealer is usually safer than a film-forming topcoat, which can trap salts and cause spalling.
- Natural stone (travertine, limestone, bluestone, flagstone): Stone varies widely. Travertine and limestone are calcium-based and react to acids, so avoid acidic cleaners and test any sealer on a hidden spot. A penetrating sealer that leaves the surface breathable is generally preferred over a heavy film. Bluestone and granite are denser and tolerate more products, but a film-forming sealer can still trap moisture and flake.
Test Before You Seal
Apply a small amount to a hidden or inconspicuous area and let it cure for the full label time. Check for cloudiness, tackiness, darkening or a patchy sheen. A common pattern is a sealer that looks fine wet and turns cloudy once it dries, usually because the surface was damp or the product was applied too thick.
Surface Preparation and Application
Seal only clean, completely dry surfaces. New pavers should cure per the manufacturer's guidance, often several weeks, before sealing.
Apply thin, even coats with a sprayer, roller or brush, following the label for coverage and recoat windows.
Watch out: a sealer applied over a dirty, damp or freshly pressure-washed patio can trap moisture and leave a cloudy, peeling finish that is expensive to strip.
When to Reseal
Most sealers need reapplication every few years, but high-traffic entries, full-sun exposures and surfaces that are pressure-washed often need it sooner. A simple test: pour a small amount of water on the surface. If it beads and rolls off, the sealer is still working. If it soaks in quickly and darkens the surface, it is time to reseal.
What Sealing Does Not Fix
Sealing will not stabilize a rocking paver, correct a low spot that holds water, or replace missing joint sand. Fix those first. Sealing over a moving or poorly drained surface hides the symptom for a season and then fails.
Retaining Wall Maintenance and Drainage Checks
Retaining walls hold back soil, so they depend heavily on drainage. Check the wall after heavy rain. Look for bulging, leaning, cracks, or water seeping through the face.
Make sure drainage pipes and gravel backfill are clear, and that water flows away from the base.
For a detailed step-by-step process, see our guide on maintaining retaining walls and preventing collapse. Understanding why drainage is critical in clay soil helps you spot problems before they start.
Seasonal Hardscape Maintenance Calendar
Most hardscape advice is a list of tasks with no timing. A calendar turns that list into a routine and tells you which jobs matter now versus which can wait. The schedule below is a starting point; adjust it for your climate, shade and traffic.
Spring: Inspect, Clean, Reset
- Walk the patio and walkways after the last freeze. Look for rocking pavers, popped joints, settled edges and new cracks.
- Remove winter debris, grit and any sand that washed out. Sweep joints clean before refilling.
- Spot-clean stains from winter grime, leaf tannin and de-icing residue. Treat oil and rust early; they set with heat.
Summer: Sweep, Rinse, Watch for Weeds
- Sweep weekly during the growing season. Organic debris holds moisture and feeds moss, algae and weed seeds.
- Rinse patios and walkways every few weeks, or after heavy pollen and tree litter.
- Pull weeds while they are small. A weed that flowers and seeds multiplies the job.
Fall: Clear, Drain, Prepare
- Clear leaves and seed pods before they stain or clog drains. This is the highest-value fall task.
- Clean gutters, downspouts and area drains that discharge near patios or retaining walls.
- Check retaining walls and drainage before the wet season. Clear weep holes and gravel backfill.
Winter: Protect, Do Not Scrape
- Plastic shovels are gentler on pavers than metal blades, which can chip edges and scratch sealers.
- Avoid rock salt and harsh de-icers on pavers and natural stone. They can pit surfaces and damage joint sand. Sand or a paver-safe de-icer is gentler.
- Keep snow and ice off retaining wall faces and weep holes so water can drain.
Frequency at a Glance
| Task | How Often |
|---|---|
| Sweep surface and joints | Weekly in growing season |
| Rinse patio and walkways | Every 2-4 weeks, or after heavy debris |
| Spot-clean stains | Promptly, within days |
| Check joint sand | Monthly and after heavy rain |
| Weed joints | Monthly in growing season |
| Inspect retaining walls and drainage | After heavy rain and seasonally |
| Deep clean | Once a year, spring or fall |
| Check sealer performance | Once a year with water-bead test |
When to Escalate
A calendar handles routine care. It does not handle movement, drainage failure or wall distress. Escalate to a professional when you see repeated sand loss in the same area, a low spot that holds water after rain, pavers that rock underfoot, or any new lean, bulge or crack in a retaining wall. Those are signs of a base or grading problem, not a maintenance problem, and repeating the surface fix will not solve them.
Dos and Don'ts for Hardscape Care
Do:
- Sweep debris before it sits and stains
- Rinse spills promptly, especially oil, wine and grill grease
- Refill joint sand after cleaning or heavy rain
Don't:
- Use metal shovels or harsh salts on pavers in winter
- Pressure wash at high pressure or too close to the surface
- Apply sealer to a wet or dirty patio
Scheduling Your Next Hardscape Check-Up With Moises Pizana Hardscapes
Some problems are hard to spot from the ground. Sunken pavers, hidden drainage failures and early wall movement often need a trained eye.
Our crew has more than 15 years of experience and handles the work in-house, with our own equipment.
If your patio, walkway or retaining wall is showing wear, schedule a check-up with our team and we will walk through what it needs and what it will cost.
Frequently Asked Questions
What is the best way to clean patio pavers?
Start by sweeping away loose debris, then wet the surface and scrub with a pH-neutral paver cleaner and a stiff nylon brush. Work in small sections so the cleaner does not dry on the surface. Rinse thoroughly with a garden hose and let the pavers dry completely before deciding whether a sealer is needed. Avoid harsh acids or bleach, which can etch concrete and discolor joint sand. For heavy staining, test a cleaner on a small hidden area first. Pressure washing can work on durable concrete pavers, but use a low-pressure setting and a wide fan tip to avoid chipping edges or washing out joint sand.
When should you replace polymeric sand between pavers?
Replace polymeric sand when you notice washed-out joints, exposed base material, weeds sprouting between pavers, or pavers that rock or shift underfoot. Most polymeric sand lasts several years, but heavy rain, pressure washing, and freeze-thaw cycles can shorten its life. Before refilling, remove the old sand to a depth of about one inch, dry the joints, and sweep in fresh polymeric sand. Compact the pavers, mist lightly according to the manufacturer's directions, and let the sand set before opening the surface to foot traffic. Following the product label closely matters, since over-wetting can cause the sand to harden unevenly.
How often should retaining walls be checked?
Inspect retaining walls at least twice a year, typically in early spring and fall, and after any heavy storm. Look for bulging or leaning sections, cracks wider than a fingernail, gaps between blocks, and soil washing out at the base. Check that drainage pipes and weep holes are clear and that water is moving away from the wall rather than pooling behind it. Small problems such as loose caps or minor settling are often easier to correct early. Significant movement, leaning, or cracking across a large section should be evaluated by a professional before it worsens.
What maintenance do pavers need each year?
Most paver patios and walkways benefit from a yearly routine that includes sweeping debris, checking for shifting or sunken pavers, topping off joint sand, and removing weeds before they establish. Cleaning is typically needed once or twice a year, with spot cleaning of spills as they occur. Sealing is commonly recommended every two to three years, depending on traffic and exposure, though the schedule should follow the sealer manufacturer's guidance. Plan these tasks for mild weather, avoiding application when temperatures are very hot, freezing, or rain is expected.