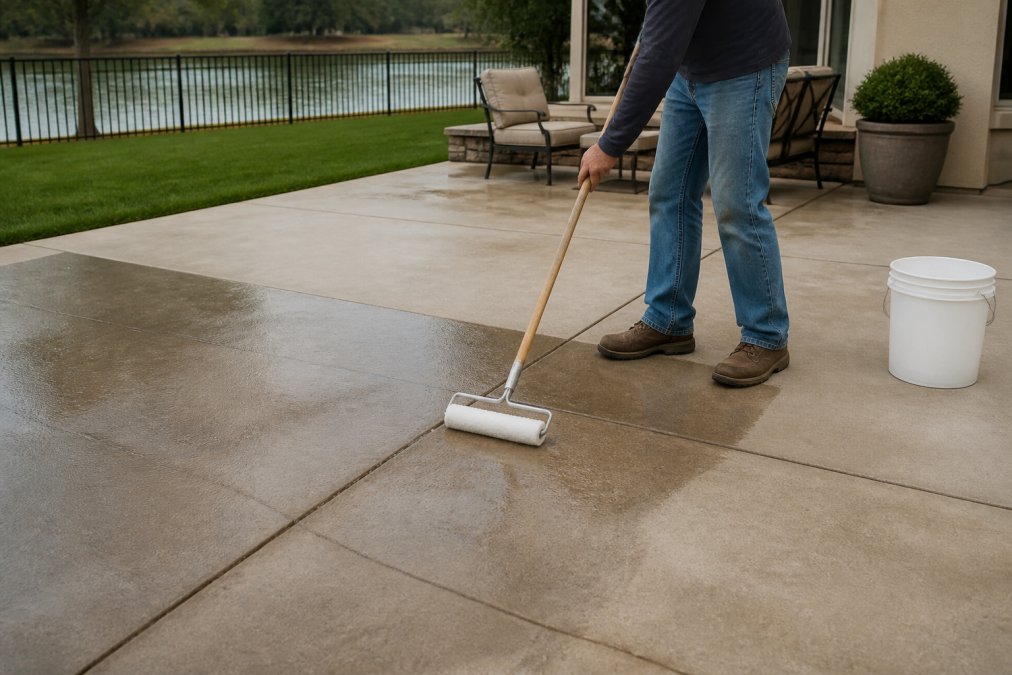
 ultimate-guide
How to Maintain Concrete Patios: A 2026 Care Guide
Table of Contents
- Why Your Concrete Patio Needs a Maintenance Routine
- The Essential Patio Maintenance Checklist
- Step 1: Clear Debris and Sweep Regularly
- Step 2: Best Concrete Patio Cleaners for Stubborn Stains
- Step 3: Pressure Washing Concrete Patios Without Damage
- Step 4: How Often to Seal Concrete Patio Surfaces
- Step 5: Concrete Patio Repair Tips for Cracks and Chips
- Seasonal Maintenance for Decorative and Stamped Concrete
- Frequently Asked Questions
Last Updated: September 7, 2026
Why Your Concrete Patio Needs a Maintenance Routine
Concrete patios are durable, but not maintenance-free. Without regular care, dirt, mildew, and oil stains degrade the finish, while small cracks invite water that expands during freeze-thaw cycles and causes larger damage. A consistent routine helps you maintain concrete patios properly, protecting your investment and keeping the surface safe and attractive.
At Moises Pizana Hardscapes, our crews have more than 15 years of experience in the Dallas-Fort Worth area. Learning how to maintain concrete patios does not require expensive equipment or daily effort. A few targeted tasks on a schedule make the difference between a surface that looks new for a decade and one needing replacement after a few harsh winters.
Below, we break down the maintenance lifecycle into five practical steps, from weekly sweeping to knowing when to seal, plus specialty care for stamped and decorative concrete.
The Essential Patio Maintenance Checklist
A solid maintenance plan for a concrete patio rests on five core tasks: clearing debris, cleaning stains, pressure washing, sealing, and repairing damage. Each task runs on a different schedule, so it helps to see them laid out together.
| Task | Frequency | Best Time of Year | Purpose |
|---|---|---|---|
| Sweep and clear debris | Weekly | Year-round | Prevents organic staining and mildew growth |
| Spot-clean stains | As needed | Immediate | Stops oil, rust, and food from setting |
| Pressure wash | 1-2 times per year | Spring or Fall | Removes embedded grime and surface etching |
| Apply concrete sealer | Every 2-3 years | Dry, warm weather | Blocks water and protects surface integrity |
| Inspect and repair cracks | Annually | Spring | Prevents freeze-thaw damage from widening |
Tools and Materials You'll Need
Gather the right gear first. You will need a stiff-bristle brush, a garden hose with a spray nozzle, a pressure washer (rentable), a pH-neutral cleaner, a degreaser for oil spots, and a concrete sealer appropriate for your patio type. For repairs, keep a concrete patching compound and joint sand on hand.
Step 1: Clear Debris and Sweep Regularly
The simplest step is also the most important. Leaves, dirt, and pollen break down into organic acids that stain the surface and feed mildew. Sweeping weekly with a stiff-bristle brush removes the abrasive grit that wears down the surface and sealer.
Pay special attention to corners, edges where the patio meets the house, and under outdoor furniture. These areas trap moisture and debris, making them the first places where efflorescence appears.
Step 2: Best Concrete Patio Cleaners for Stubborn Stains
Generic advice like "use a degreaser" fails on stains that have set for months. Identify the stain type first, then match the cleaner chemistry to the problem. Below is a stain-specific troubleshooting matrix for residential patios.
Stain Identification and Treatment Matrix
| Stain Type | Visual Cue | Recommended Cleaner | Application Method | Notes on Mechanism |
|---|---|---|---|---|
| Oil (motor, cooking, grease) | Dark, irregular blotch that darkens when wet | Alkaline degreaser (e.g., sodium hydroxide-based) or a citrus/solvent degreaser | Apply full-strength, let dwell 15-20 minutes, scrub with a stiff brush, rinse with hot water if available | Alkaline cleaners saponify oils, turning them into water-soluble soaps that rinse away. For old stains, a poultice of degreaser and an absorbent material (like kitty litter) left overnight draws oil out of the pores. |
| Rust (from furniture, tools, or well water) | Orange to reddish-brown stain, often with a defined edge | Oxalic acid-based rust remover (e.g., products containing oxalic acid) | Apply with a brush, let sit 5-10 minutes, scrub, rinse thoroughly. Repeat if needed. | Oxalic acid chelates iron ions, making them soluble. Do not use bleach, which can set rust stains permanently. |
| Organic (leaves, berries, food) | Brown, tan, or purple discoloration | Oxygen bleach (sodium percarbonate) mixed with water | Dissolve in warm water, apply, let sit 15 minutes, scrub, rinse | Oxygen bleach releases hydrogen peroxide, which oxidizes organic pigments without damaging the concrete or surrounding plants. Chlorine bleach is a poor choice because it can lighten the concrete and harm vegetation. |
| Efflorescence (white powder) | Chalky white residue, often near edges | pH-neutral cleaner or a mild muriatic acid solution (diluted 1:10) for stubborn cases | Scrub dry first, then wash with cleaner. For acid, wet the surface first, apply, scrub, rinse thoroughly | Efflorescence is dissolved mineral salts that crystallize on the surface. Acid dissolves the salts, but it must be neutralized with water to prevent etching. |
| Mildew / Algae | Black, green, or dark gray patches, often in shaded areas | Oxygen bleach solution or a dedicated mildew cleaner | Apply, let dwell 10 minutes, scrub, rinse. Address the moisture source afterward | Mildew roots penetrate porous concrete; the bleach kills surface growth, but the stain may reappear if the underlying moisture issue is not corrected. |
Why pH Matters: The Chemistry of Safe Cleaning
Concrete is highly alkaline (pH 12-13) (cement.org). Routine use of strong acid cleaners reacts with calcium hydroxide, dissolving the surface and leaving it rough and porous, a permanent effect called etching. For routine cleaning, stick to pH-neutral detergents (pH 6-8) or mild alkaline cleaners. Save acid-based products for rust removal and efflorescence, and always test in an inconspicuous spot first.
Eco-Friendly and Pet-Safe Alternatives
Most commercial degreasers and acid cleaners are not safe for lawns, flower beds, or pets. Look for plant-based, biodegradable cleaners labeled safe for septic systems and vegetation, such as those with the EPA's Safer Choice label. For routine grime, warm water with a few drops of castile soap works well. For oil stains, a paste of baking soda and water left overnight absorbs fresh spills. These alternatives require more dwell time and elbow grease but eliminate the risk of damaging landscaping or exposing pets to residues.
The Two-Step Cleaning Protocol for Set-In Stains
For stains set for more than a few days, a single application rarely works. The professional approach is a two-step process:
- Pre-treat and dwell. Apply the appropriate cleaner generously, then cover the area with plastic wrap to slow evaporation. Let it sit for 30-60 minutes (or overnight for oil). This gives the chemistry time to break the bond between the stain and the concrete pores.
- Agitate and rinse. Scrub vigorously with a stiff-bristle brush, then rinse with a garden hose or pressure washer on a low setting. If the stain is still visible, repeat the process rather than increasing the cleaner concentration.
When to Skip the Chemicals
Some stains are not stains. A dark patch that appears after rain and disappears when dry is usually moisture trapped in the slab. A grayish haze on a newly sealed patio is often a sealer application error. In these cases, cleaning will not help. If you suspect a sealer issue, consult a professional to assess whether the sealer needs stripping and reapplication.
Step 3: Pressure Washing Concrete Patios Without Damage
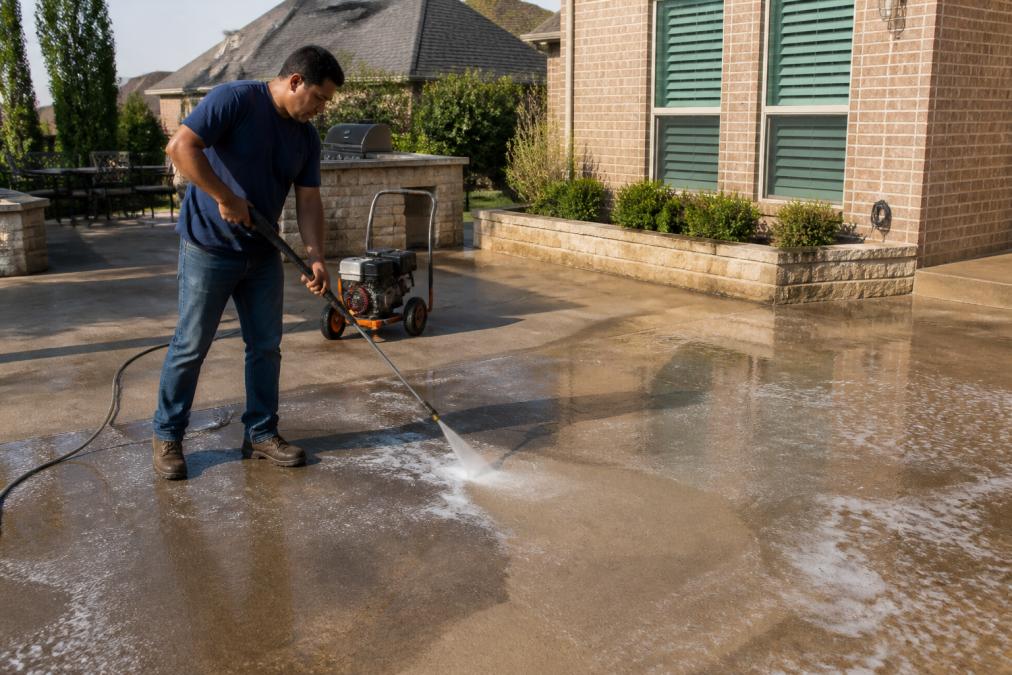
Pressure washing is the fastest way to restore a patio's appearance, but it is where most homeowners cause damage. The goal is to clean, not etch. Use a pressure washer set between 1500 and 2500 PSI with a wide fan tip of at least 25 degrees (concretenetwork.com). Hold the wand 12 to 18 inches from the surface and move in overlapping passes.
Never use a narrow zero-degree tip or a setting above 3000 PSI on a residential patio. A concentrated stream will carve grooves into the concrete, strip the sealer, and expose the aggregate. This damage is permanent and requires professional resurfacing to fix. ::: cleaning concrete without damage.
Avoid holding the wand too close or too long in one spot. Keep the nozzle moving in a steady sweep. For heavily soiled areas, apply a cleaner first, let it dwell, then rinse rather than increasing pressure.
Step 4: How Often to Seal Concrete Patio Surfaces
Seal concrete patio surfaces every 2 to 3 years in most climates, though high-traffic patios or those in harsh sun may need it annually (concrete.org). A water test tells you when the sealer has worn off: if water beads up, the sealer works; if it soaks in and darkens the concrete, it is time to reseal.
Two primary sealer types exist. A penetrating sealer soaks into the pores and protects from within, ideal for exterior patios as it does not change the look or create a slippery surface. An acrylic sealer forms a protective coating on top, adding a wet-look gloss, but it can wear unevenly and require more frequent reapplication.
Sealing requires precision. The concrete must be completely clean and dry, and the sealer must be applied evenly to avoid blotchy patches. For large or decorative patios, professional application is often worth the cost for uniform coverage.
Step 5: Concrete Patio Repair Tips for Cracks and Chips
Small cracks and chips are inevitable but easy to fix if caught early. For hairline cracks, apply a concrete patching compound with a trowel to seal the gap and prevent water from reaching the subgrade. For larger cracks or spalled areas, clean out loose material, apply a bonding agent, and fill with patching compound.
Timing is key. Repair cracks as soon as you notice them, ideally during a dry spell in spring or fall. Sealing over a crack with moisture inside traps water and accelerates freeze-thaw damage.
For major structural issues, sinking sections or cracks wider than a quarter inch that keep growing, these repair tips will not be enough. Settlement indicates a problem with the base beneath the slab, requiring professional evaluation. The underlying drainage or compaction work must be redone for a lasting fix.
Seasonal Maintenance for Decorative and Stamped Concrete
Stamped and decorative concrete patios have all the maintenance needs of a standard slab, plus extra considerations. The texture and relief in stamped patterns create more surface area for dirt and mildew, so these patios need more frequent cleaning. They also require a sealer formulated for decorative concrete to protect color and pattern without creating a slippery film.
A seasonal schedule keeps the work manageable. In spring, deep-clean with a pressure washer and inspect for winter damage. In summer, sweep weekly and spot-clean spills immediately. In fall, remove leaves promptly and clean before winter. In winter, avoid deicing salts, as many types cause chemical damage to the concrete and sealer.
Many DFW homeowners choose decorative concrete for its aesthetic appeal, and protecting that look requires the right products. A generic cleaner or sealer can dull the color or leave a residue that ruins the finish. When in doubt, consult a professional who works with decorative concrete regularly.
Keeping a concrete patio in top condition requires consistency and the right techniques. From weekly sweeping to correct PSI settings and sealer timing, the steps above protect surface integrity and extend lifespan for decades. When a patio has recurring cracks, drainage problems, or a decorative finish needing expert care, the installation crew that built it is often the best resource for repairs. At Moises Pizana Hardscapes, our in-house team handles custom patio construction. Get a quote today and let our 15 years of experience protect your investment.
Frequently Asked Questions
What is the average lifespan of a concrete patio?
A properly installed and maintained concrete patio can last 25 to 30 years or more. The key to reaching that lifespan is regular maintenance. This includes routine sweeping, prompt stain removal, and sealing the surface every few years. Ignoring small issues like hairline cracks can lead to water infiltration, which causes freeze-thaw damage and expands over time. By addressing minor problems early and keeping the surface sealed, you prevent costly concrete patio repair tips from becoming necessary.
Is it worth it to seal a concrete patio?
Yes, sealing is one of the most cost-effective ways to maintain concrete patios. A quality penetrating sealer or acrylic sealer protects the surface from water absorption, oil stains, and UV damage. It also prevents surface etching from deicing salts and slows the growth of mildew and algae. While it adds an upfront cost, sealing reduces the frequency of deep cleaning and extends the life of the concrete. It is a critical step in any long-term maintenance schedule.
What is the best way to remove oil stains from concrete?
For fresh oil stains, immediately cover the spot with an absorbent material like kitty litter or baking soda and let it sit overnight to pull the oil out. For older, set-in stains, use a degreaser specifically formulated for concrete. Apply the degreaser, scrub with a stiff-bristle brush, and rinse thoroughly. In severe cases, a poultice paste can draw the oil from the pores. Avoid using a pressure washer alone on oil stains, as it can push the oil deeper into the concrete.
How often should you pressure wash a concrete patio?
Most patios need a thorough pressure washing once a year, ideally in the spring. If your patio is under trees or in a shaded area prone to mildew and algae growth, you may need to wash it twice a year. Over-washing can damage the surface, so use the lowest PSI settings that get the job done. A 1500-2000 PSI pressure washer is generally safe for residential concrete. Always test a small, inconspicuous area first to check for surface integrity.