 how-to
How to Fix Uneven Patio Stones: A Step-by-Step Guide
Table of Contents
- What Causes Patio Stones to Sink and Become Uneven
- Best Tools for Leveling Patio Stones
- Step-by-Step Process for Fixing Uneven Patio Stones
- How to Prevent Weeds Growing Between Patio Pavers Naturally
- Cost to Repair Sunken Pavers and When to Call a Professional
- Long-Term Maintenance to Keep Your Patio Level
- Frequently Asked Questions
What Causes Patio Stones to Sink and Become Uneven
Uneven patio stones signal problems beneath the surface. Poor base layer preparation is the most common culprit, when the sub-base isn't compacted properly or uses inconsistent material, settling occurs unevenly, especially in clay-heavy soil that shifts differently than sandy or loamy mixtures.
Water drainage problems compound the issue. Pooling water saturates the base and destabilizes the foundation. Frost heave, where freezing and thawing cycles expand and contract soil, pushes stones upward in winter and leaves gaps when ground settles in spring (usgs.gov). This cycle repeats annually, gradually working pavers loose.
Tree roots can lift individual stones or create pressure points that shift the entire surface. Heavy foot traffic and vehicle weight compress the base unevenly over time. Most homeowners wait too long before addressing these issues, by then, multiple stones are affected and the underlying base may need complete reconstruction rather than targeted repair.
Fixing uneven patio stones effectively is manageable if you understand the root cause and follow a systematic approach.
Best Tools for Leveling Patio Stones
Essential tools:
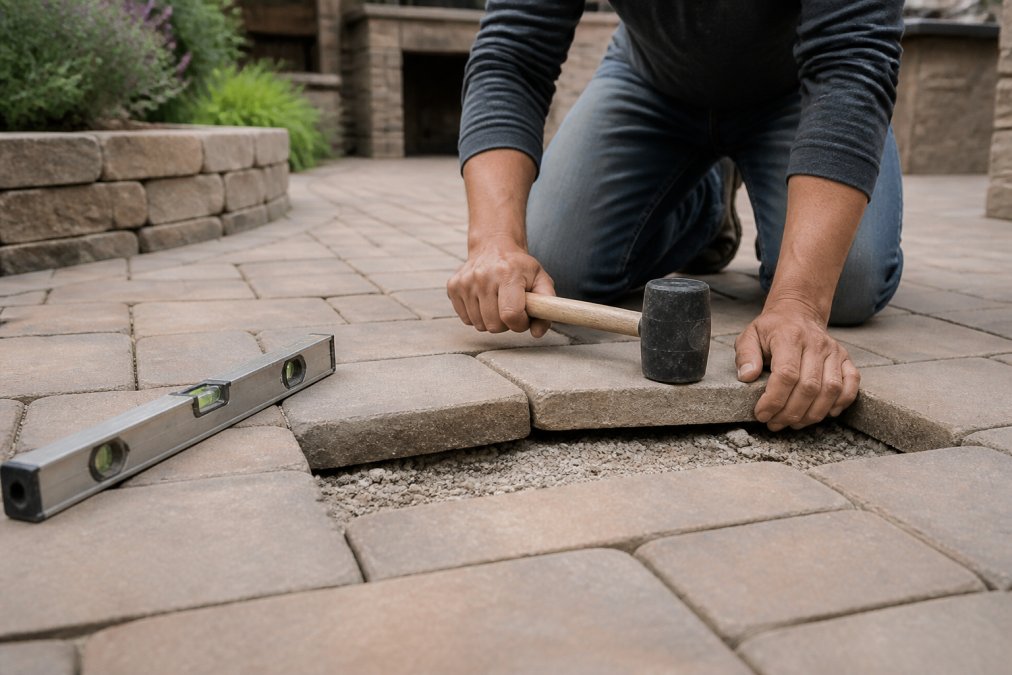
A flat pry bar lifts pavers without cracking them. A rubber mallet taps pavers into place without crushing stone. A 4-foot level checks surface flushness across multiple stones. A shovel and hand tamper or power compactor prepare and compact the base layer. A broom spreads polymeric sand into joints, and a garden hose with spray nozzle activates it.
Optional but valuable:
A plate compactor (power compactor) transforms base preparation from exhausting to efficient. For more than a few pavers, renting one costs far less than the physical toll of hand tamping. A laser level provides precision, though a traditional level works fine for most residential patios.
Step-by-Step Process for Fixing Uneven Patio Stones
Step 1: Assess the Damage and Plan Your Repair
Walk your patio in different weather conditions. After rain, you'll see where water pools, indicating drainage issues. Mark sunken or uneven stones with chalk.
Determine whether the problem is localized (one or two stones) or widespread (affecting a large section). Localized issues might need only targeted stone replacement; widespread settling suggests the entire base layer needs attention.
Look for patterns. Stones sinking in a line might indicate a root or drainage channel. Uniform settling across a large area points to overall base layer failure. Measure the depth of sunken areas using a straightedge, stones sinking 1/4 inch or less might be resettable with minor adjustments; anything deeper suggests substantial base work is needed.
Step 2: Remove the Affected Pavers
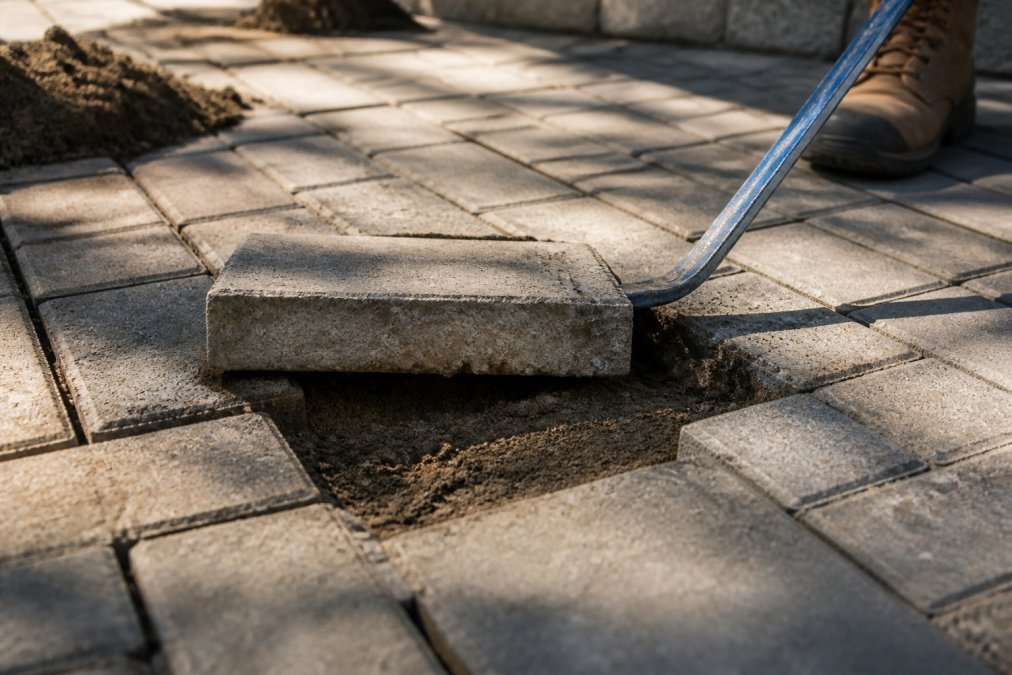
Use your pry bar to lift one edge of the stone gently, working it under the edge rather than forcing it up suddenly. Rock the bar slightly to loosen the stone, then gradually increase pressure as it lifts.
Once loose, slide the stone out carefully. Work systematically from one end rather than scattered removal, which destabilizes surrounding stones. Stack removed pavers in a clean area, organized by location if possible.
Inspect the underside of each stone. Remove any roots with pruning shears or a saw. Clear away old sand, debris, and soil from the stone's bottom surface with a wire brush.
Step 3: Prepare and Grade the Base Layer
Remove any old, compacted base material from the excavated area. If the existing base is intact and properly compacted, you might only need to add fresh leveling sand. If it's soft, unstable, or contaminated with clay, remove it completely and start fresh.
Spread 2-3 inches of crushed stone dust (crusher dust) in the excavated area. This material locks together when compacted, creating a stable foundation that resists settling.
Check your drainage situation. If water pools in this area, slightly regrade the base to encourage water to flow away from the patio. A barely perceptible slope prevents future problems.
Compact the base thoroughly using a hand tamper or power compactor, making multiple passes from edges toward center. The base should feel rock-solid with no give or movement.
Step 4: Reset and Level the Pavers
Spread a fresh 1-inch layer of leveling sand over the compacted crushed stone. Place the first stone back into position, pressing it down firmly. Use your level to check that it sits flush with adjacent stones. If too high, remove it and rake away sand. If too low, add sand beneath and reset.
Work stone by stone, checking each with your level before moving to the next. Tap stones gently with your rubber mallet to seat them fully and ensure they won't shift under foot traffic.
Step 5: Fill Joints and Compact the Surface
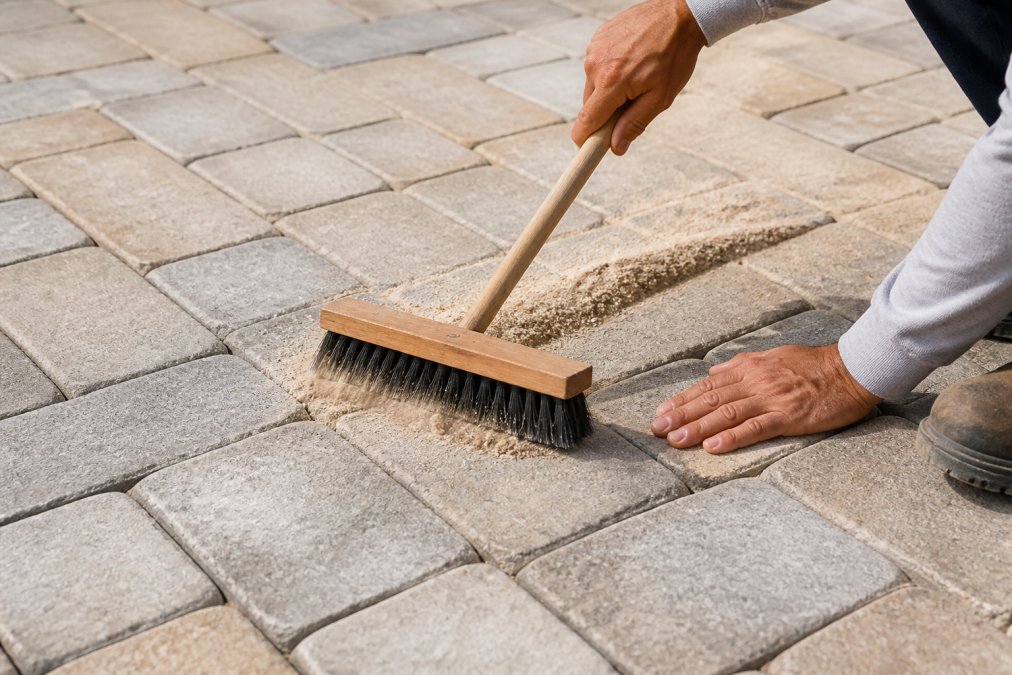
Spread polymeric sand across the entire patio surface with a broom, working it into joints from multiple directions. Overfill slightly, then remove excess sand from the stone surface using a shop vacuum or dry broom.
Lightly mist the patio with water using a garden hose on low spray setting. The water activates the polymeric sand's binding agents. Allow 24-48 hours for full cure before allowing foot traffic (icpi.org).
Finally, compact the entire surface using a plate compactor on low vibration setting. This final pass ensures all stones are firmly seated and locks joints tight.
How to Prevent Weeds Growing Between Patio Pavers Naturally
Polymeric sand eliminates the primary pathway for weed growth. Unlike regular sand, which remains loose and allows seeds to penetrate, polymeric sand hardens into a semi-solid joint that physically blocks weed seeds from reaching soil. managing drainage issues.
Maintain consistent joint filling. Inspect joints annually and top up polymeric sand where it's worn away. Sunlight exposure also matters, weeds need light to germinate, so shaded patios naturally see fewer weeds.
A weed barrier fabric under your patio provides an additional layer of prevention. Laying landscape fabric over the compacted base before adding leveling sand creates a physical barrier against soil-borne weed seeds.
Hand removal works for occasional weeds. Pull them when young, before they flower and spread seeds. For stubborn weeds, pour boiling water directly on them. Avoid herbicides on pavers if possible, as they can stain stone and harm surrounding plants.
Cost to Repair Sunken Pavers and When to Call a Professional
For small repairs affecting one to three pavers, you're primarily investing in materials: replacement sand, polymeric sand, and possibly new stones. Larger repairs affecting 10 or more stones become substantially more involved.
Professional contractors bring compaction equipment that ensures proper base preparation, understand local drainage patterns and soil conditions, and can identify problems you might miss, like root issues or underlying drainage failures. They also complete work faster.
Call a professional if settling is widespread across your entire patio, if you suspect root damage or serious drainage issues, if stones are expensive natural stone you're uncomfortable removing, or if you value your time. Moises Pizana Hardscapes specializes in patio repair and can assess whether your situation needs targeted fixes or comprehensive base reconstruction.
Small to medium repairs are manageable as DIY projects if you're comfortable with physical labor and have the right tools available.
Long-Term Maintenance to Keep Your Patio Level
Inspect your patio twice yearly, spring and fall. Look for new settling, check that joints are still solid, and verify that water drains properly after rain.
Monitor drainage. After heavy rain, note where water pools. If pooling occurs consistently in the same areas, that's where future settling will occur. You may need to adjust grading or install additional drainage solutions.
Check for root growth annually if you have trees near your patio. Trim roots that threaten your patio surface, or consider removing trees that consistently cause problems.
Maintain polymeric sand joints every 2-3 years. If sand is missing or washed away, top it up with fresh polymeric sand.
Avoid heavy concentrated loads. While patios are designed for foot traffic, parking vehicles on them or placing extremely heavy furniture in one spot for years accelerates settling. Distribute weight across the surface when possible.
Reseal natural stone pavers annually. Sealing protects against water penetration and staining, which indirectly helps maintain patio integrity by reducing moisture-related settling.
Document your patio's condition with photos taken annually from consistent angles and lighting. This visual record helps you spot gradual changes and provides reference material if you need professional help later.
Fixing uneven patio stones effectively requires understanding what caused the problem, removing and resetting affected stones properly, and maintaining your patio to prevent recurrence. Small repairs are manageable as DIY projects if you have the right tools and patience. For larger issues or professional-grade results, Moises Pizana Hardscapes brings 15+ years of hardscape experience and the equipment necessary to ensure your patio stays level. Whether you tackle this yourself or bring in professionals, address it now rather than letting settling worsen. Get a quote from Moises Pizana Hardscapes today to discuss your specific patio situation and explore whether repair or reconstruction makes sense for your property.
Frequently Asked Questions
Q: What causes patio stones to sink over time?
A: Patio stones settle due to poor base preparation, soil erosion, inadequate drainage, and frost heave cycles. Water penetrates the sub-base, weakening the foundation and causing the crushed stone dust to compact unevenly. Heavy foot traffic and vehicle weight accelerate settling. Proper base layer integrity and drainage management prevent most sinking issues from developing in the first place.
Q: How much does it cost to fix uneven pavers?
A: DIY repairs using basic tools typically cost $100-$300 in materials for small areas. Professional paver restoration pricing depends on the repair scope, number of stones affected, and base layer damage. Contact Moises Pizana Hardscapes for a detailed quote tailored to your specific project, we'll assess whether you need simple re-leveling or full base reconstruction.
Q: Can I fix uneven patio pavers without removing them all?
A: Yes, minor unevenness can sometimes be addressed by adding leveling sand beneath affected stones without full removal. However, if the sub-base is compromised or multiple stones are sunken, removing and resetting the affected area ensures proper compaction and long-term stability. This approach prevents the problem from spreading to adjacent pavers.
Q: Will polymeric sand fix wobbly pavers?
A: Polymeric sand stabilizes joints and prevents weed growth, but it won't fix pavers that rock or move. Wobbly pavers indicate base layer problems requiring stone dust replacement and proper compaction. Polymeric sand works best as a preventive measure after pavers are correctly leveled and the sub-base is solid and properly graded.